There is a gap between a title that informs and a title that lands. I spent years working in still compositing before I ever touched video, and when I crossed over, that gap was the first thing I noticed. You could spend hours lighting a subject, color grading a scene, getting everything just right, and then slap a centered white font over the top of it and undo half the atmosphere in a single keystroke. The title is part of the image. Most people treat it like a label on a jar.
This is exactly why a tutorial by Peter McKinnon stopped me mid-scroll. Watch the full tutorial on YouTube before or after reading this, but I want to walk through the technique in enough detail that you can execute it without guessing. The core idea is simple: instead of placing a title on top of your footage, you reveal it from behind a moving subject using a mask that you advance frame by frame. The result feels like the scene is generating the text, not the editor pasting it on.
What got me interested as a compositor is that this is essentially a holdout matte, a technique I use constantly when integrating painted elements into photographic backgrounds. The logic is the same whether you are working in Premiere, After Effects, or DaVinci Resolve. You are defining a region where the text does not exist yet, and you are moving that region to follow the shape of something real in the frame. Done well, it reads as intentional direction. Done badly, it still looks better than a static title card.
Step 1: Set Up Your Text Layer
 Text tool selected in the graphics or titles panel
Before any masking happens, you need your text layer in place. Open the graphics or titles panel in your editing software, select the text tool, and type your title. Keep it short if this is your first attempt. Long strings of text mean more masking work, and the technique is easier to learn on a single word or a short phrase.
Text tool selected in the graphics or titles panel
Before any masking happens, you need your text layer in place. Open the graphics or titles panel in your editing software, select the text tool, and type your title. Keep it short if this is your first attempt. Long strings of text mean more masking work, and the technique is easier to learn on a single word or a short phrase.
Once the text is placed, center it in the frame both horizontally and vertically using the alignment controls. You want it to sit cleanly in the space where your subject will pass. This is your target. Everything else in this process is built around protecting it and then slowly exposing it.
Step 2: Select the Pen Tool in the Effects Panel
![]() Pen icon highlighted in the effects or mask panel
Navigate to the effects controls for your text layer. Look for a pen or shape icon that lets you draw a free-form mask directly on the clip. This is not the same as a shape mask preset. You want the freehand path tool so you can trace an irregular edge, specifically the outline of your moving subject.
Pen icon highlighted in the effects or mask panel
Navigate to the effects controls for your text layer. Look for a pen or shape icon that lets you draw a free-form mask directly on the clip. This is not the same as a shape mask preset. You want the freehand path tool so you can trace an irregular edge, specifically the outline of your moving subject.
The mask you are drawing will define the area where the text is hidden. Think of it as drawing a curtain. Right now the curtain covers everything. You will pull it back incrementally over the course of the clip.
Step 3: Trace the Subject’s Edge at the Starting Frame
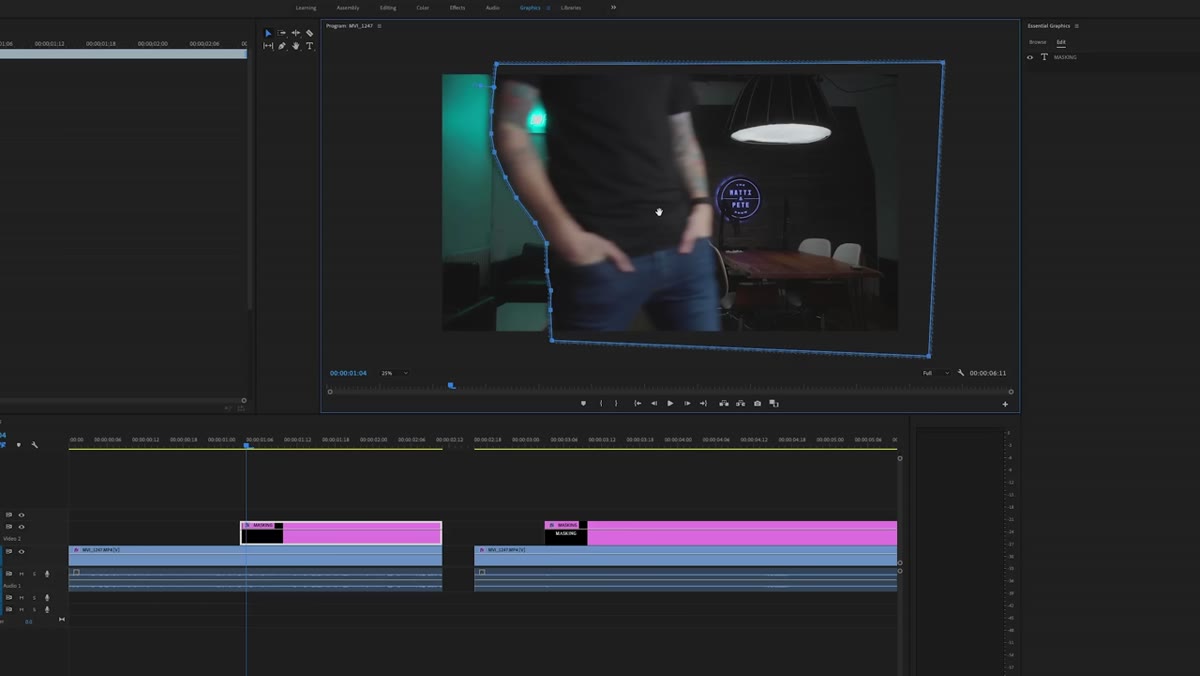
 Pen tool tracing the outline of a person’s arm and body
Go to the frame where your subject first enters the shot, on the same side as where the text begins. Using the pen tool, click along the edge of the subject’s body or silhouette. You do not need surgical precision here. A rough trace with five to ten points that follows the general shape of the arm, shoulder, or whatever is entering frame is enough. Perfection is not the goal. Believability is.
Pen tool tracing the outline of a person’s arm and body
Go to the frame where your subject first enters the shot, on the same side as where the text begins. Using the pen tool, click along the edge of the subject’s body or silhouette. You do not need surgical precision here. A rough trace with five to ten points that follows the general shape of the arm, shoulder, or whatever is entering frame is enough. Perfection is not the goal. Believability is.
Once you have traced the subject’s edge, extend the path off the edge of the frame to close the shape. The mask should cover the entire text area from the subject’s edge to one side of the frame. When you check the “invert” box in the mask settings, the text inside that masked region will disappear. That is correct. The text is now hidden behind the mask, waiting to be uncovered.
Step 4: Invert the Mask
 Invert checkbox enabled, text disappearing from masked region
With the mask drawn, find the invert or subtract option in your mask controls and enable it. What was hidden is now your text-free zone, and what was outside the mask is where the text will be visible once the subject passes through.
Invert checkbox enabled, text disappearing from masked region
With the mask drawn, find the invert or subtract option in your mask controls and enable it. What was hidden is now your text-free zone, and what was outside the mask is where the text will be visible once the subject passes through.
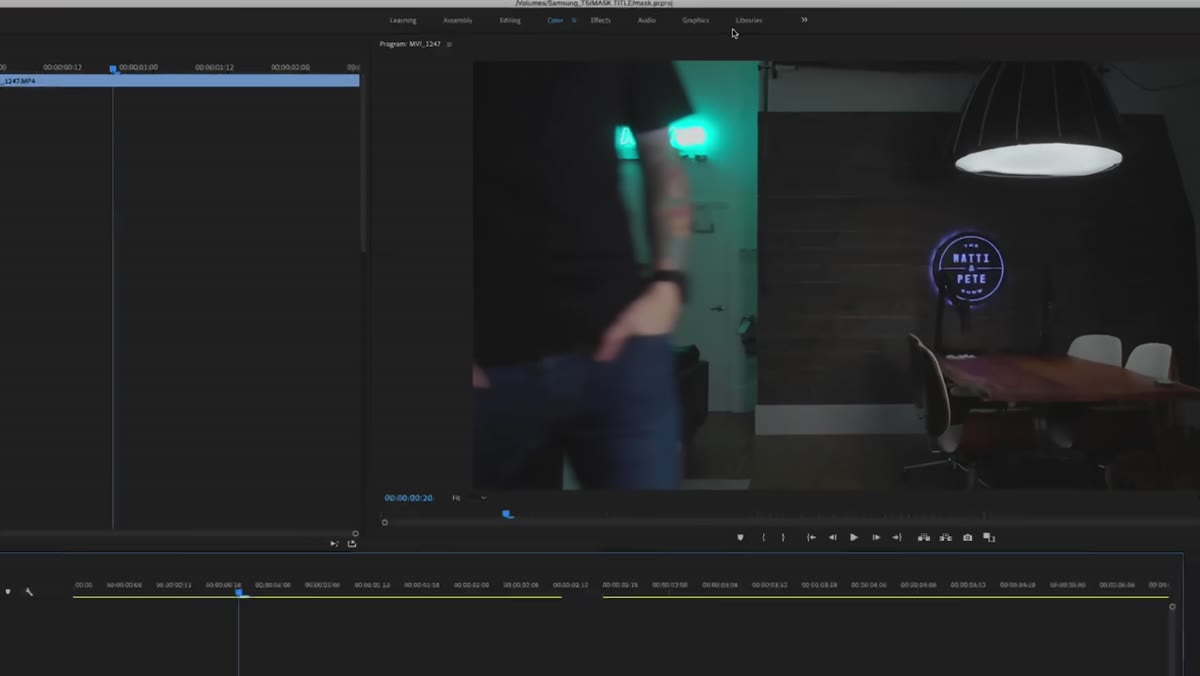
Play back the clip at this point. The text should look like it is sitting behind your subject, already partially revealed on one side of the frame. If the text is fully hidden, your mask is covering too much. If it is fully visible, check that invert is actually enabled. The before-and-after here is the clearest diagnostic you have.
Step 5: Advance Frame by Frame and Move the Mask
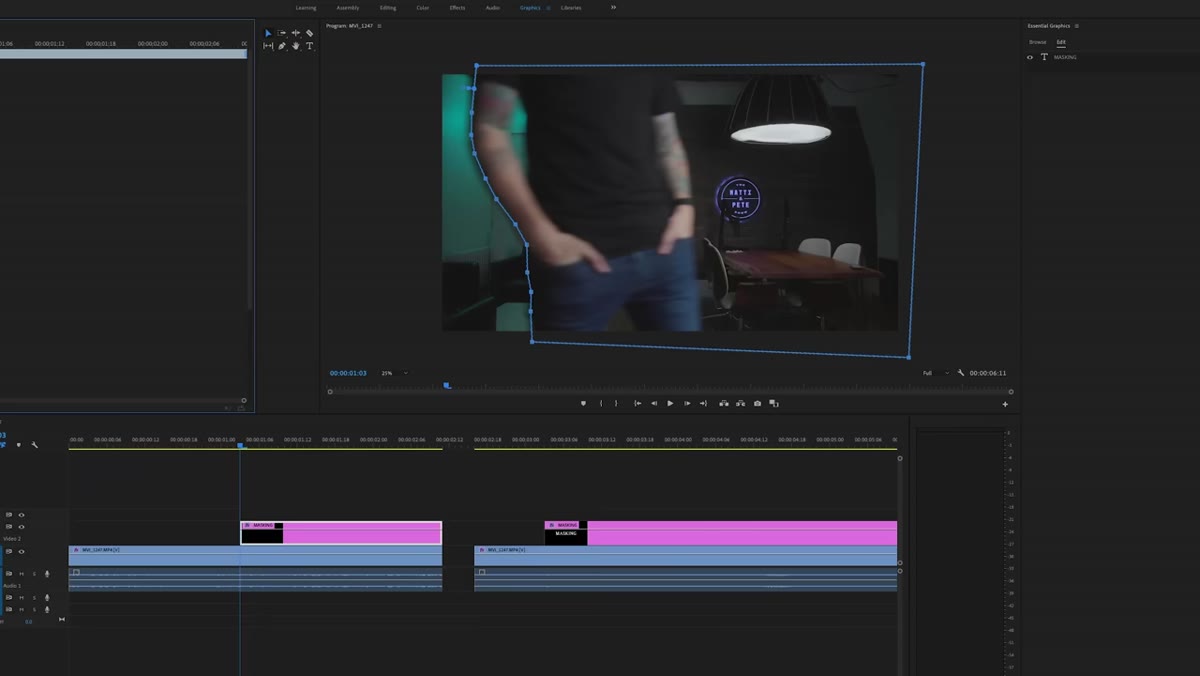
 Editor advancing one frame and repositioning the mask path
This is where the work lives. Move the playhead forward by one frame. Then drag the entire mask path so its edge aligns with the new position of your subject’s body. Move forward one frame, reposition the mask. Repeat this until the subject has exited the frame entirely and the full title is exposed.
Editor advancing one frame and repositioning the mask path
This is where the work lives. Move the playhead forward by one frame. Then drag the entire mask path so its edge aligns with the new position of your subject’s body. Move forward one frame, reposition the mask. Repeat this until the subject has exited the frame entirely and the full title is exposed.
This is tedious, but it is not complicated. Each frame, you are asking one question: where is the subject’s edge right now? The mask follows the answer. If your subject moves quickly, you may be able to skip every other frame and still get a clean result. If movement is slow or the edge is complex, stay at single frames. Let the content set the pace.
Step 6: Play Back and Check the Result
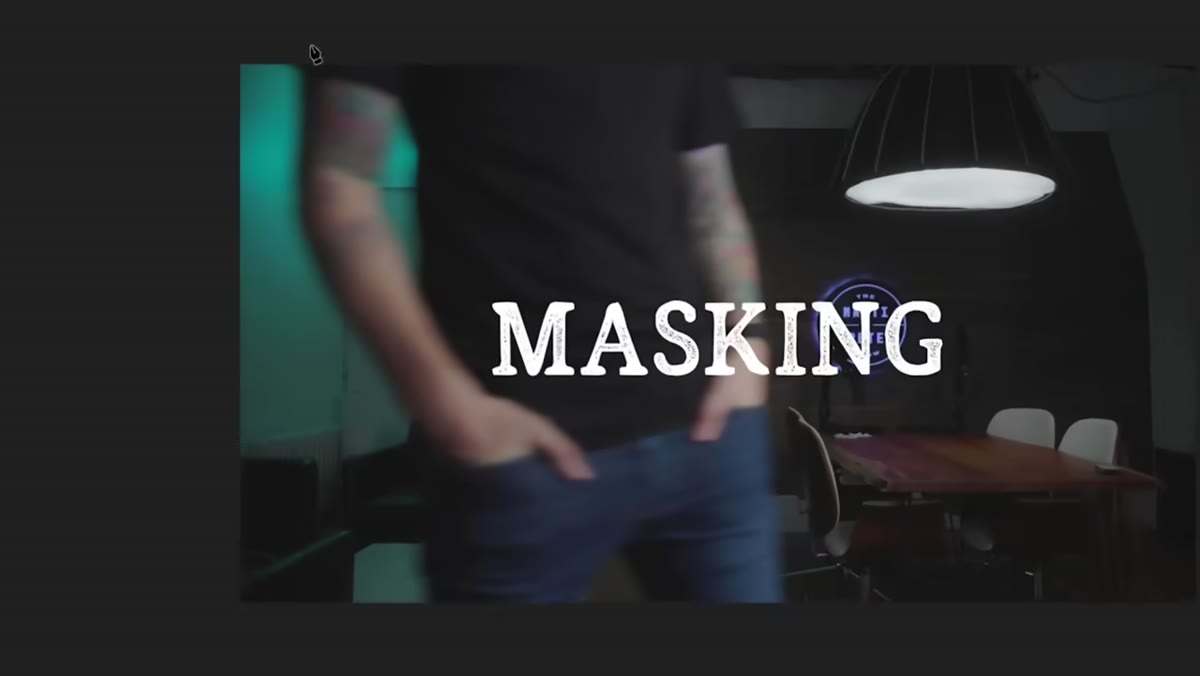
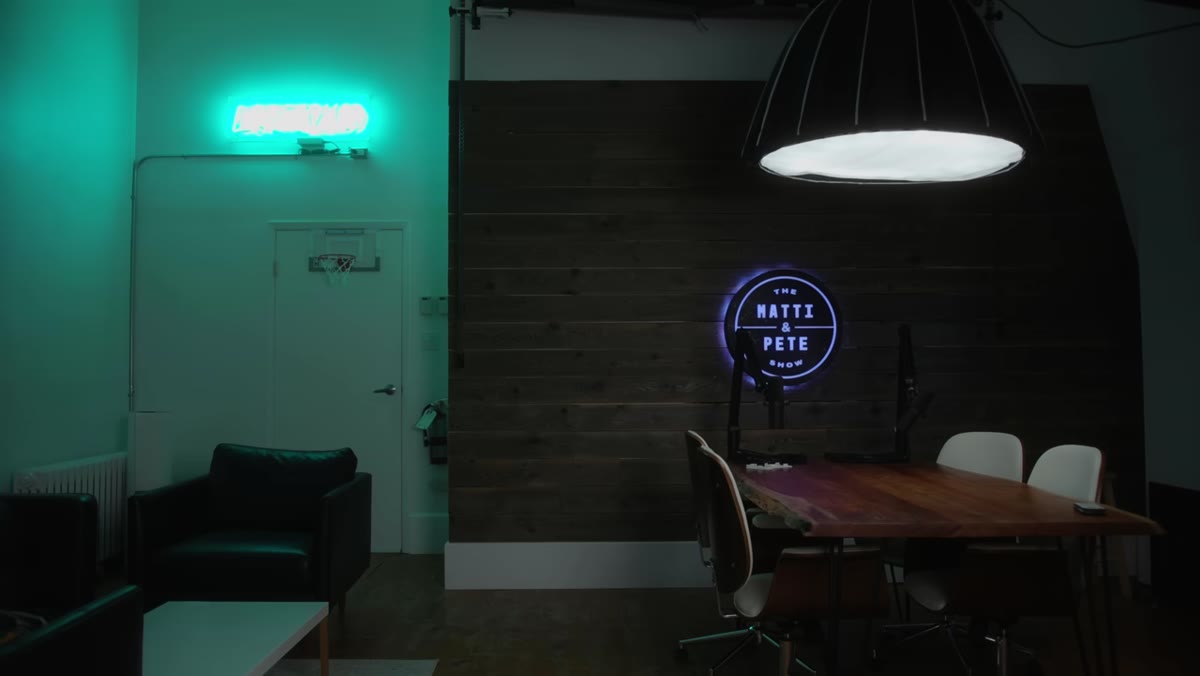 Final playback showing text revealing smoothly behind moving subject
Once the mask is fully off frame, play the sequence back at full speed. The text should appear to emerge from behind the subject as they move through the shot, as though the scene itself is writing the title. Rough edges on the mask will mostly disappear at playback speed. What you are checking for is any moment where the text jumps forward unnaturally or the mask lags behind the subject and creates an obvious gap.
Final playback showing text revealing smoothly behind moving subject
Once the mask is fully off frame, play the sequence back at full speed. The text should appear to emerge from behind the subject as they move through the shot, as though the scene itself is writing the title. Rough edges on the mask will mostly disappear at playback speed. What you are checking for is any moment where the text jumps forward unnaturally or the mask lags behind the subject and creates an obvious gap.
Small corrections are easy. Scrub to the problem frame, adjust the mask position, and play again. You may need two or three passes before it feels right.
How I Would Use This in a Still-to-Motion Composite
The reason this technique resonates with me beyond video work is that it bridges a gap I run into on photo compositing projects where I am asked to deliver a title treatment alongside the image. Clients often want something more dynamic than text sitting on top of the final art. Using a version of this holdout logic in After Effects, you can apply it to a still composite that has been exported with a subject on a separate layer. The subject masks the text, and you animate the mask reveal over a short two-second duration. The composite becomes a motion deliverable without rebuilding anything from scratch.
The key detail I would add from my own workflow: sketch the reveal direction before you open the software. Knowing whether the text reads left to right, top to bottom, or emerges from a specific silhouette edge changes which frames matter most. A few seconds on paper saves you from backing into a decision after you have already invested thirty minutes in frame-by-frame adjustments.
The single most important thing this tutorial reinforces is that presentation is part of the work, not decoration added after the real work is done. A title that feels like it belongs to the scene earns attention. A title that sits on top of it asks you to ignore the seam. The mask reveal is one of the cleanest ways to close that seam, and it costs almost nothing in time once you have done it once.
Watch the full tutorial on YouTube to see Peter demonstrate the result in real footage. Seeing the motion makes the frame-by-frame logic click in a way that reading about it cannot fully replicate.
Comments
Leave a Comment