Feet ruin more composites than any other body part. Not faces, not hands — feet. I’ve seen otherwise flawless work fall apart the moment the subject makes contact with the ground, because the artist didn’t account for weight, surface interaction, or the subtle way light wraps around skin pressed against a floor or grass or stone. I’ve been guilty of it myself. Early in my career I once finished a composite I was genuinely proud of, only to realize the shadow under the subject’s left foot was pointing in a completely different direction than every other shadow in the scene. Nobody caught it except me. It still bothers me.
So when I came across Sue Bryce’s tutorial on compositing realistic feet in Photoshop, published through CreativeLive, I paid close attention. Watch the full tutorial on YouTube. Sue is one of the most technically honest photographers and educators working today, and her approach to this specific problem cuts through a lot of the vague advice you find elsewhere. What follows is my breakdown of her method, expanded with the things I’d add from my own experience.
Step 1: Understand the Problem Before You Open Photoshop
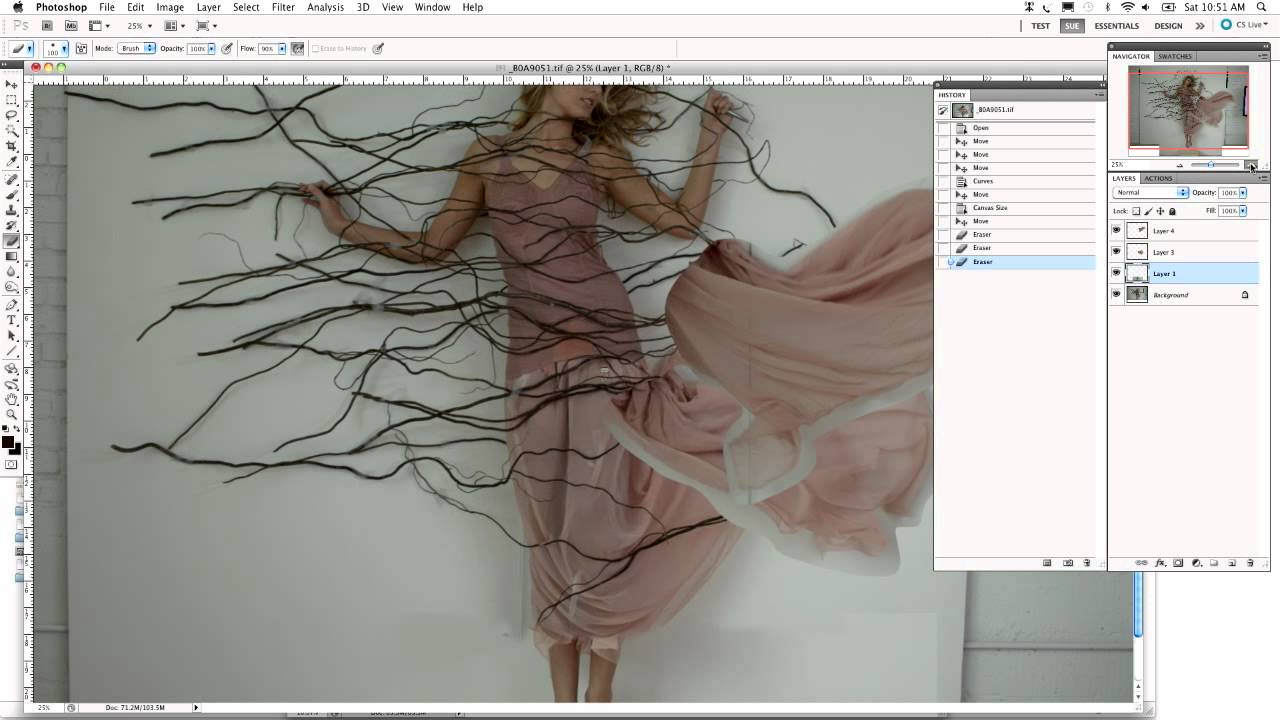
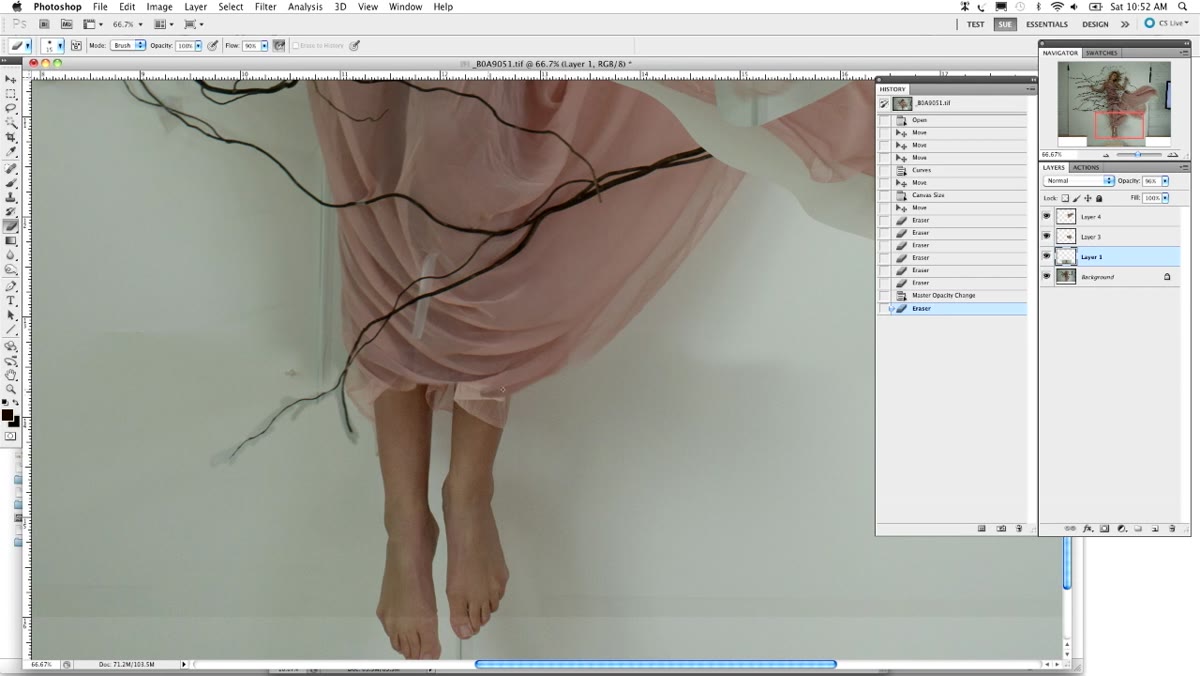
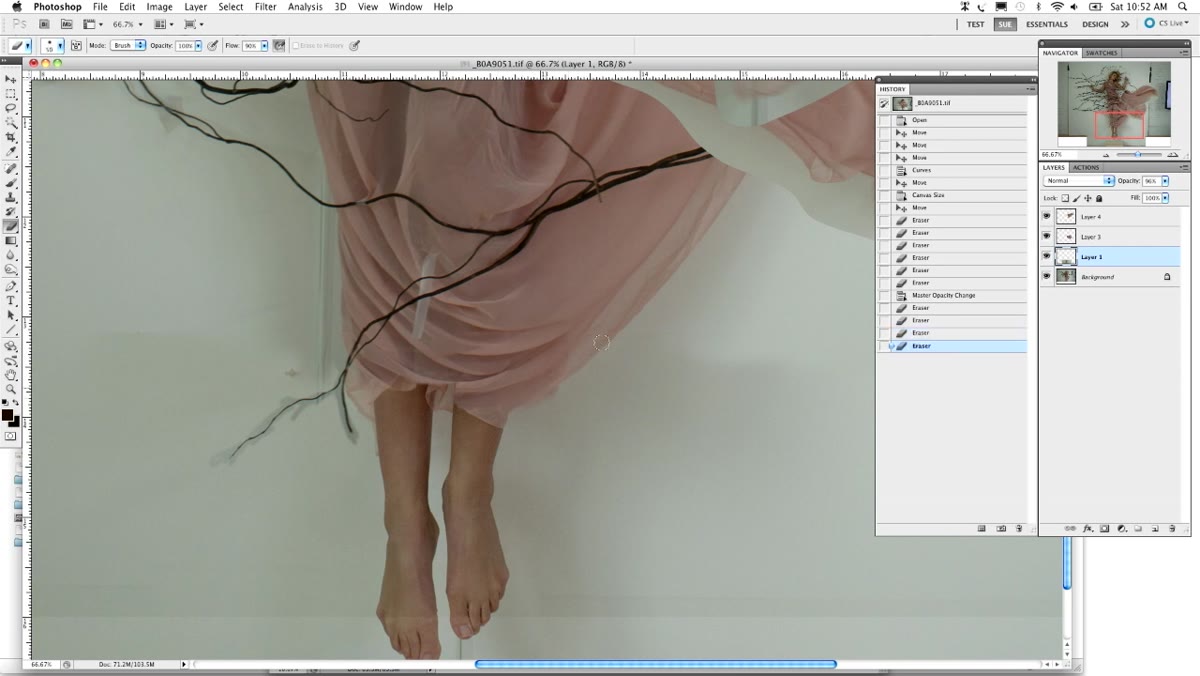
 Tutorial opens, Sue Bryce at her Photoshop workspace
The first thing Sue establishes is why feet are a special case in compositing. Unlike hair or clothing, feet carry physical weight. They press into surfaces. They cast shadows that originate from a very specific, very low point relative to the ground plane. Before you touch a single tool, you need to look at your source image and your background plate separately and ask: where is the light coming from, and does the surface have any give?
Tutorial opens, Sue Bryce at her Photoshop workspace
The first thing Sue establishes is why feet are a special case in compositing. Unlike hair or clothing, feet carry physical weight. They press into surfaces. They cast shadows that originate from a very specific, very low point relative to the ground plane. Before you touch a single tool, you need to look at your source image and your background plate separately and ask: where is the light coming from, and does the surface have any give?
If your background is grass, sand, or carpet, a foot should show subtle compression. If it’s hardwood or tile, the contact edge needs to be sharper. Getting this right in your head before you start saves you from making decisions mid-composite that you’ll have to undo later. I sketch every composite on paper before opening Photoshop, and for any image involving ground contact, I draw the shadow separately from the figure, just to commit the light direction to memory.
Step 2: Extract the Feet Cleanly, Preserve Edge Detail
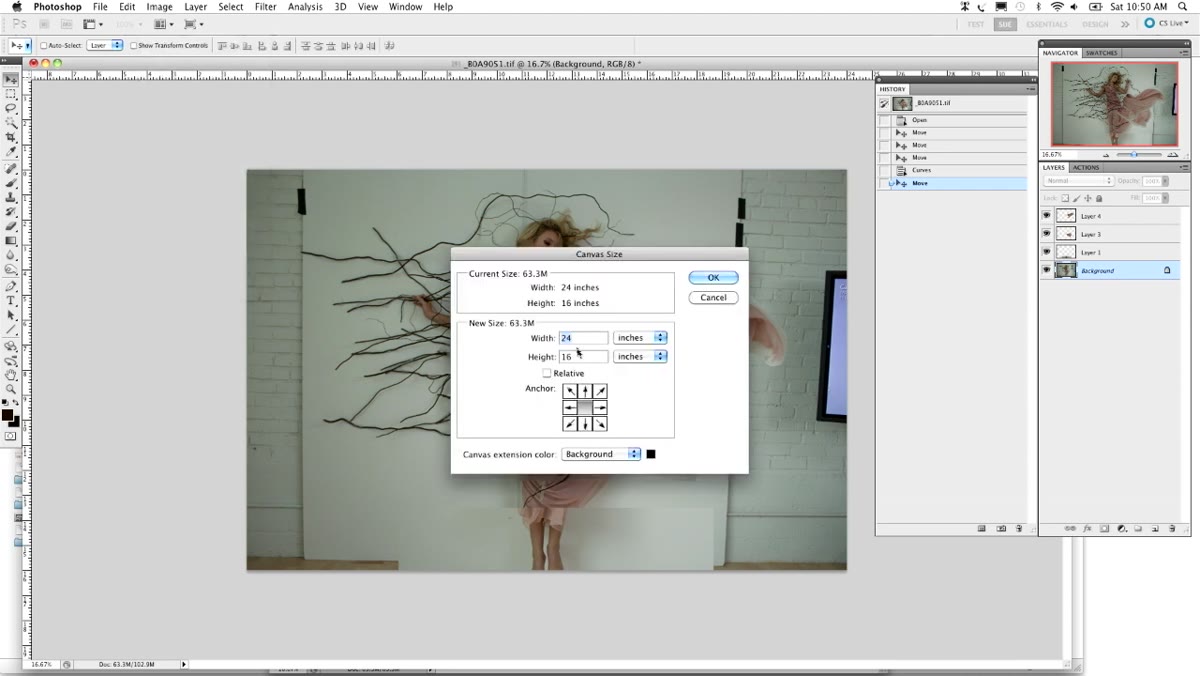 Zoomed-in selection around the foot area in Photoshop
Sue’s extraction approach here is precise rather than fast. She works at high zoom and takes time around the edges of the toes and the underside of the foot, where the silhouette gets complex. The temptation with feet is to use a quick automatic selection and move on, but the edge where skin meets background is where your composite will be judged.
Zoomed-in selection around the foot area in Photoshop
Sue’s extraction approach here is precise rather than fast. She works at high zoom and takes time around the edges of the toes and the underside of the foot, where the silhouette gets complex. The temptation with feet is to use a quick automatic selection and move on, but the edge where skin meets background is where your composite will be judged.
Use Select and Mask for this work rather than a raw lasso. Pay particular attention to the heel and the gaps between toes if they’re visible. Refine your edge with a small radius brush in areas where the skin has a soft, slightly out-of-focus quality. Over-sharpening an edge on a foot that was shot with any depth of field looks immediately wrong, and it’s one of the most common mistakes I see in otherwise careful compositing work.
Step 3: Match Scale to the Background Plate
 Transform handles visible around placed foot layer
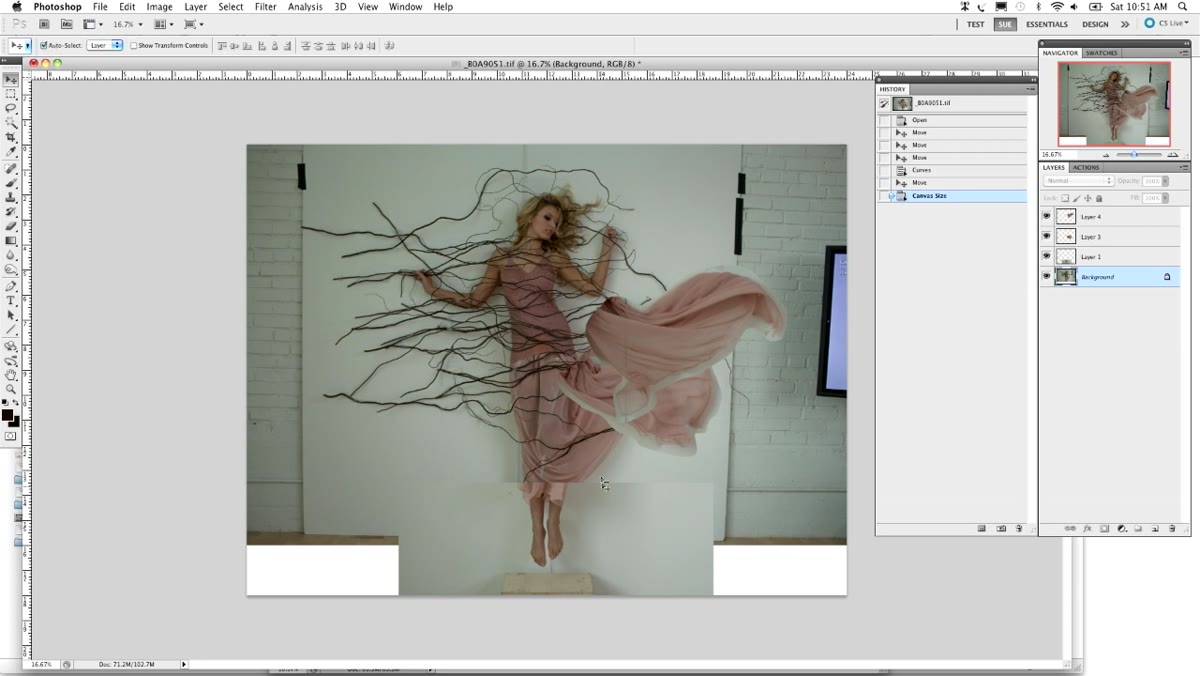
Once the foot is placed on the background, Sue is careful about scale before anything else. It’s easy to get fooled by what looks right at full canvas view. Zoom into the area where the foot will meet the ground and compare it to any reference objects nearby. A foot next to a step, a piece of furniture, or another person’s body will expose a scaling error immediately.
Transform handles visible around placed foot layer
Once the foot is placed on the background, Sue is careful about scale before anything else. It’s easy to get fooled by what looks right at full canvas view. Zoom into the area where the foot will meet the ground and compare it to any reference objects nearby. A foot next to a step, a piece of furniture, or another person’s body will expose a scaling error immediately.
Use Free Transform with the aspect ratio locked, and don’t guess. If you have any reference points in the frame, use them. I keep a folder of reference images that covers almost every body proportion and perspective combination I’ve encountered over the years, and for ground-level foot placement, perspective is everything. A foot photographed at eye level pasted into a frame shot from waist height will never look real, no matter how well you blend it.
Step 4: Build the Shadow in Stages
 New layer created beneath foot layer, shadow being painted
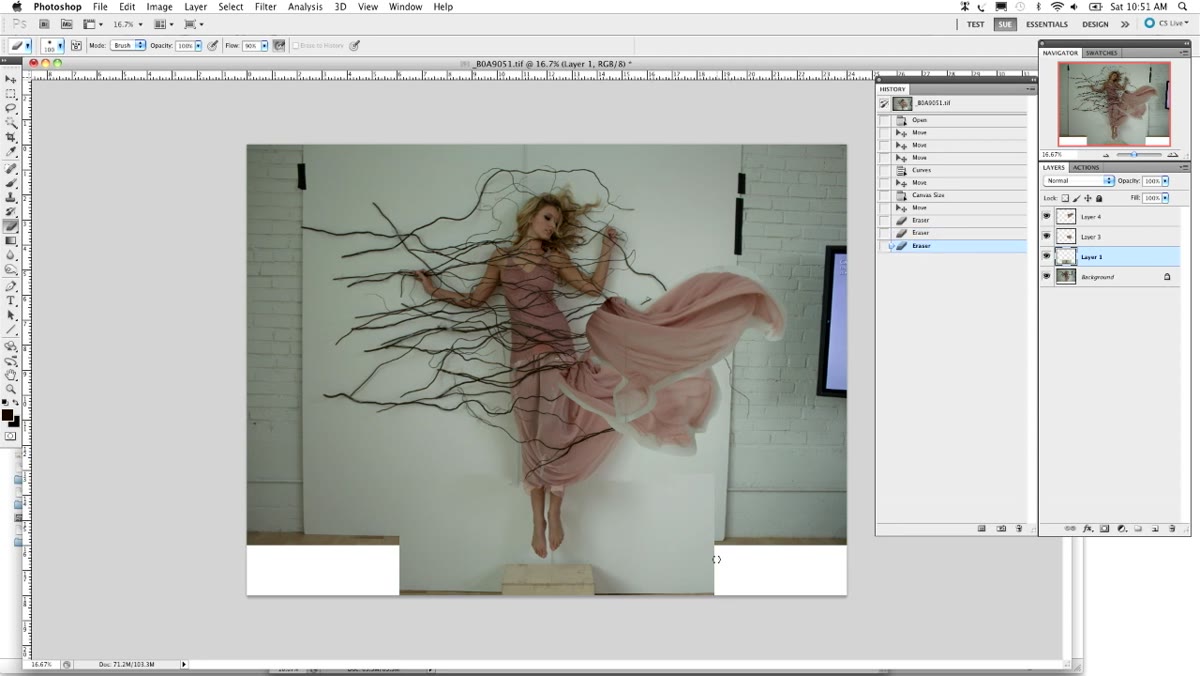
This is where Sue’s tutorial earns its keep. She doesn’t use a single drop shadow effect. She builds the contact shadow manually, in stages, using a soft brush on a separate layer set to Multiply. The contact shadow, the darkest part directly under the foot where it meets the surface, is painted with low flow and built up slowly. The secondary shadow that extends away from the foot is softer, wider, and lighter in density.
New layer created beneath foot layer, shadow being painted
This is where Sue’s tutorial earns its keep. She doesn’t use a single drop shadow effect. She builds the contact shadow manually, in stages, using a soft brush on a separate layer set to Multiply. The contact shadow, the darkest part directly under the foot where it meets the surface, is painted with low flow and built up slowly. The secondary shadow that extends away from the foot is softer, wider, and lighter in density.
Most people apply one shadow layer and call it done. Sue separates them because they behave differently. The contact shadow has almost no blur. The cast shadow has significant blur and its density drops as it moves away from the foot. Getting these two zones distinct from each other is what makes a foot look like it belongs to the scene rather than floating just above it.
Step 5: Color Grade the Foot to Match the Scene
 Adjustment layers clipped to the foot layer in the Layers panel
After the shadow work, Sue addresses color and tone. A foot photographed in a studio will have a different white balance, a different ambient color cast, and a different tonal range than an outdoor background plate. She uses clipped adjustment layers, Curves and Color Balance, to push the skin tone toward the temperature and saturation of the background light.
Adjustment layers clipped to the foot layer in the Layers panel
After the shadow work, Sue addresses color and tone. A foot photographed in a studio will have a different white balance, a different ambient color cast, and a different tonal range than an outdoor background plate. She uses clipped adjustment layers, Curves and Color Balance, to push the skin tone toward the temperature and saturation of the background light.
Don’t just match the midtones. Check the highlights on the top of the foot against the highlights in the scene, and check the shadows in the toe creases against the deepest shadows visible elsewhere in the frame. If your scene has warm afternoon light, the highlight on the top of the foot should have a slight warmth. If it reads as neutral while everything else in the frame glows amber, the brain will flag it even if the viewer can’t articulate why.
Step 6: Blend the Edge With Ambient Occlusion and Soft Light
 Soft brush painting around the foot base on a new layer
The final step in Sue’s method is blending the base of the foot into the surface with a technique that mimics ambient occlusion. On a new layer set to Multiply, she paints a very soft, low-opacity dark tone around the perimeter where the foot contacts the ground. This simulates the way light is blocked by two surfaces meeting, and it’s the detail that seals the composite.
Soft brush painting around the foot base on a new layer
The final step in Sue’s method is blending the base of the foot into the surface with a technique that mimics ambient occlusion. On a new layer set to Multiply, she paints a very soft, low-opacity dark tone around the perimeter where the foot contacts the ground. This simulates the way light is blocked by two surfaces meeting, and it’s the detail that seals the composite.
Keep the brush large and the opacity under 15 percent. Build it up in small strokes rather than painting it in one pass. The goal is something that’s barely visible but would be obviously missing if you turned the layer off.
What I’d Add From My Own Experience
The one thing Sue’s tutorial doesn’t address in depth, at least in this segment, is specular reflection. If your background surface has any sheen, tile, polished wood, wet pavement, the foot needs a reflection or the absence of one looks immediately wrong. I handle this by duplicating the foot layer, flipping it vertically, masking aggressively, and reducing the opacity to between 5 and 20 percent depending on how reflective the surface is. It’s a small addition but it moves the composite from “almost there” into the territory where people stop looking for what’s wrong.
The single most important thing Sue Bryce communicates in this tutorial is that believable compositing is built from observation, not from presets or filters. You have to understand what a real foot looks like on a real surface in real light before Photoshop can help you recreate it. Every tool she uses exists to serve that observation, not replace it.
Watch the full tutorial on YouTube and pay particular attention to the shadow construction sequence. That section alone is worth the time.
Comments
Leave a Comment