There’s a moment in almost every composite where the selection tool just gives up on you. You’re trying to isolate something with fine edges, low contrast against its background, or an awkward shape that no automated tool wants to deal with, and the marching ants are sitting there mocking you. I’ve been in that situation more times than I can count, working on movie poster work where a stray hair or a missed edge at 300 DPI will cost you hours of cleanup later. What I’ve learned is that the selection is never really finished when the tool stops running. It’s finished when you can actually see every edge behaving the way you need it to. That’s where Quick Mask Mode comes in, and in this CreativeLive tutorial with Lesa Snider, she walks through exactly why this workflow is worth building into your muscle memory.
What Snider demonstrates is not a workaround or a niche technique. It’s a fundamental shift in how you interact with a selection, moving from coordinates and pixel data to something you can actually see and paint. The core idea is simple: instead of continuing to wrestle with a selection tool that doesn’t understand your intent, you switch into a visual mode where the selected and unselected areas are shown as color overlays, and then you just paint the corrections. A brush. White or black. That’s the whole mechanism. But the impact on your workflow is significant, especially when you’re dealing with complex subjects that include thin elements like poles, branches, cables, or hair.
Step 1: Confirm Your Quick Mask Settings First
 Quick Mask Options dialog showing Color Indicates Masked Areas
Before you press anything, double-click the Quick Mask icon at the bottom of the Tools panel. It looks like a small circle inside a rectangle, similar to a layer mask thumbnail. This opens the Quick Mask Options dialog, and the setting you want to verify is that “Color Indicates” is set to “Masked Areas,” not “Selected Areas.” This is the default, but if someone has changed it on your machine, the overlay behavior will be inverted and the whole logic flips. Getting this confirmed before you start means the red overlay will always represent what is NOT in your selection, which is the intuitive way to read it.
Quick Mask Options dialog showing Color Indicates Masked Areas
Before you press anything, double-click the Quick Mask icon at the bottom of the Tools panel. It looks like a small circle inside a rectangle, similar to a layer mask thumbnail. This opens the Quick Mask Options dialog, and the setting you want to verify is that “Color Indicates” is set to “Masked Areas,” not “Selected Areas.” This is the default, but if someone has changed it on your machine, the overlay behavior will be inverted and the whole logic flips. Getting this confirmed before you start means the red overlay will always represent what is NOT in your selection, which is the intuitive way to read it.
Step 2: Make Your Initial Selection with Any Selection Tool
 Active selection with marching ants visible on subject
Quick Mask Mode is not a replacement for your selection tools, it’s a finishing layer on top of them. Start with whatever gets you closest: the Quick Selection tool, Object Select, the lasso, whatever makes sense for the subject. The point is to get a rough selection that covers most of what you need. Snider’s approach here is smart because she’s already done the heavy lifting with a quick selection before she even thinks about Quick Mask. The mask step is for the 15% the automated tools miss, not for building a selection from zero.
Active selection with marching ants visible on subject
Quick Mask Mode is not a replacement for your selection tools, it’s a finishing layer on top of them. Start with whatever gets you closest: the Quick Selection tool, Object Select, the lasso, whatever makes sense for the subject. The point is to get a rough selection that covers most of what you need. Snider’s approach here is smart because she’s already done the heavy lifting with a quick selection before she even thinks about Quick Mask. The mask step is for the 15% the automated tools miss, not for building a selection from zero.
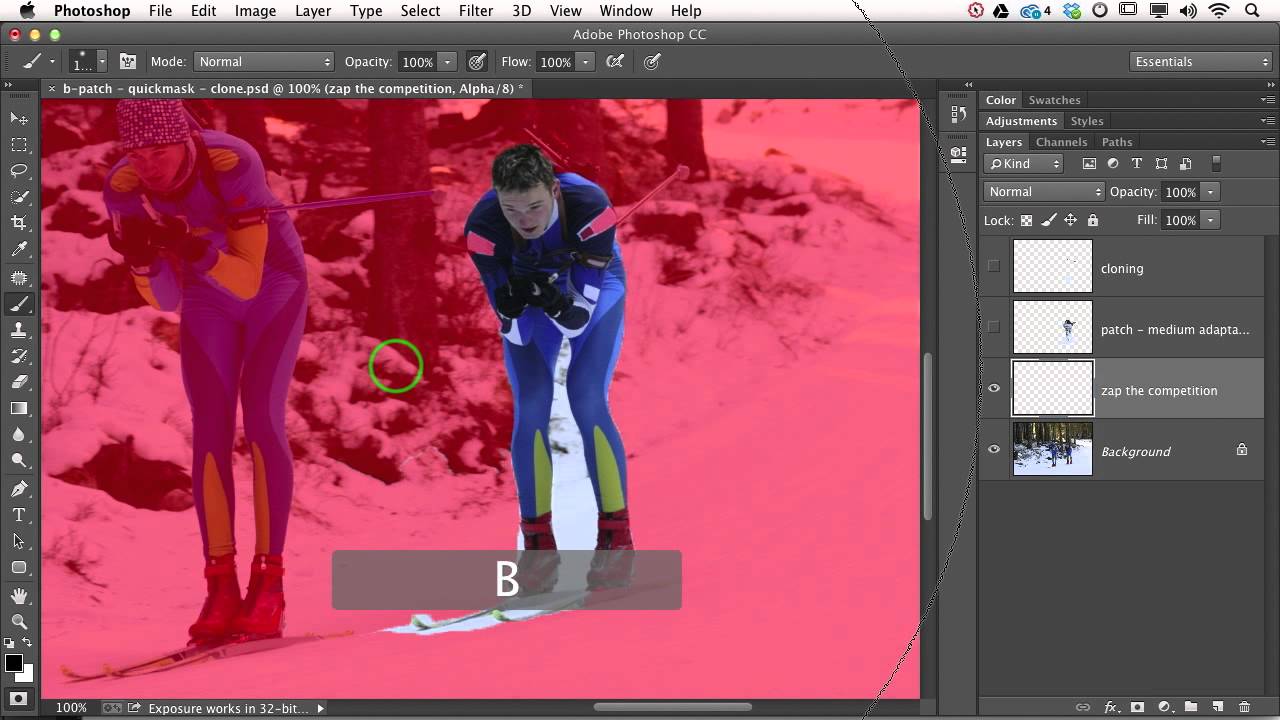
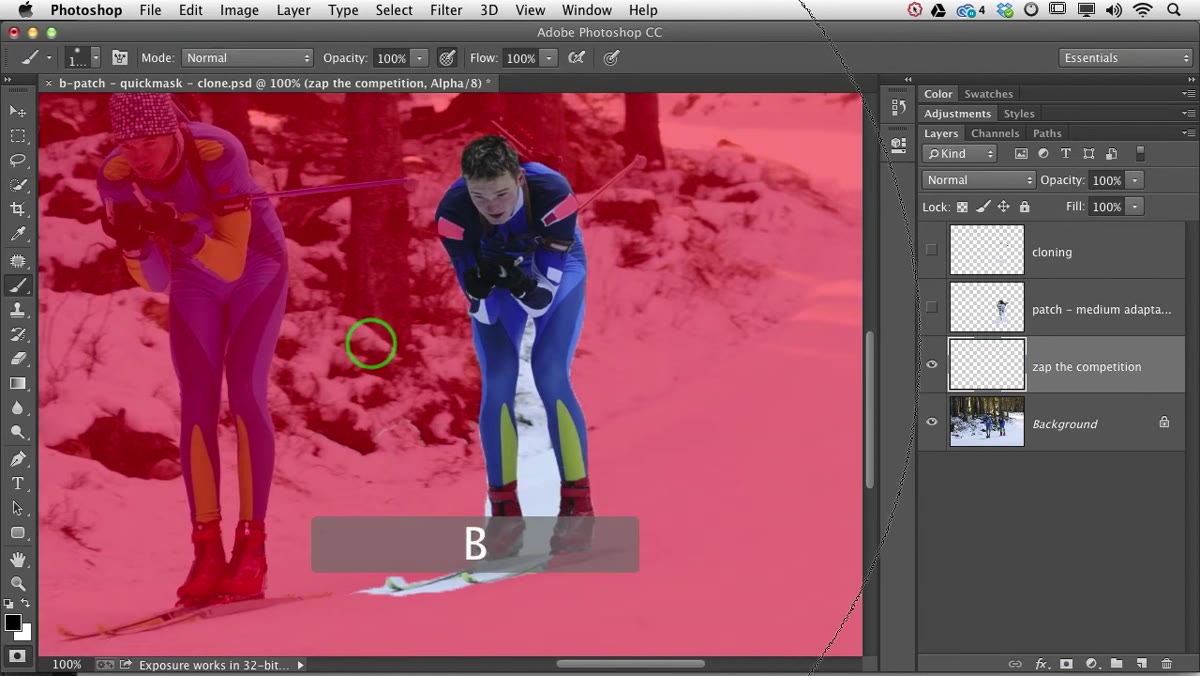
Step 3: Press Q to Enter Quick Mask Mode
 Canvas showing red overlay across unselected areas of image
Once you have your rough selection active, press Q. The canvas will shift to show a translucent red overlay, and if your options are set correctly, that overlay covers everything outside your selection. The areas that are clear, without the red tint, are what’s currently included in your selection. This visual representation is what makes the mode so useful. Instead of trying to read marching ants at the edge of a complex shape, you’re reading a color field. You can see gaps, you can see overshoot, and you can see problem areas immediately.
Canvas showing red overlay across unselected areas of image
Once you have your rough selection active, press Q. The canvas will shift to show a translucent red overlay, and if your options are set correctly, that overlay covers everything outside your selection. The areas that are clear, without the red tint, are what’s currently included in your selection. This visual representation is what makes the mode so useful. Instead of trying to read marching ants at the edge of a complex shape, you’re reading a color field. You can see gaps, you can see overshoot, and you can see problem areas immediately.
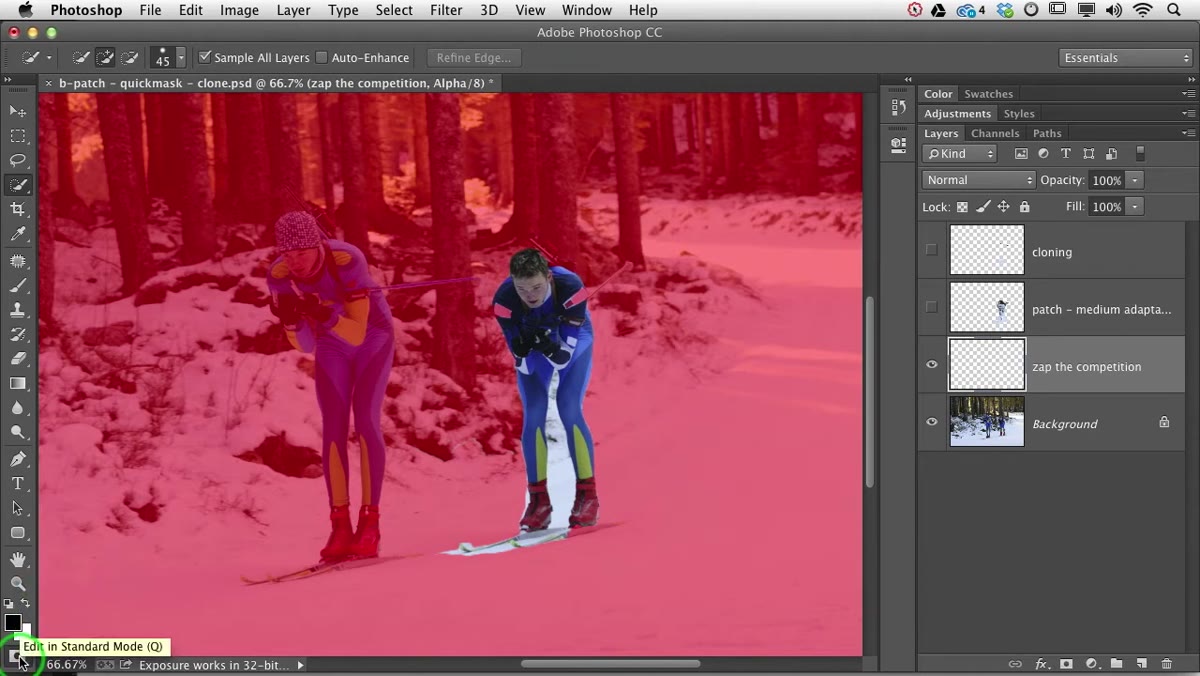
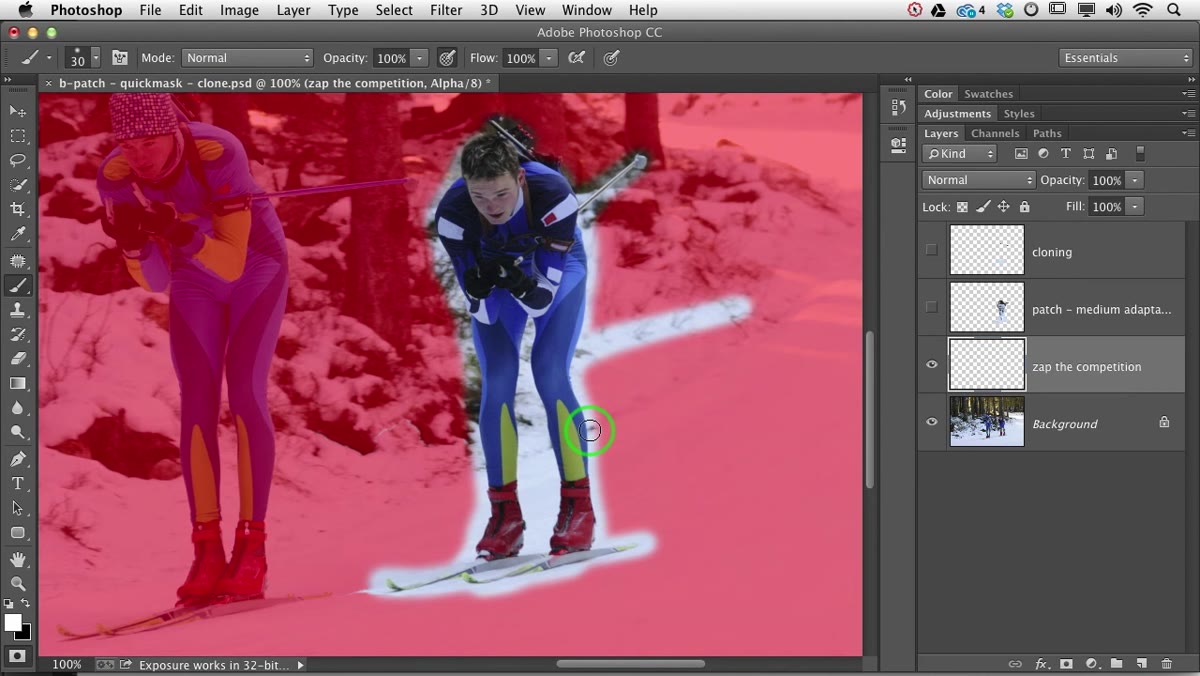
Step 4: Activate the Brush and Paint with White to Add to the Selection
 Brush tool active, painting over unselected area to add it to selection
Press B to activate the Brush tool. Make sure your foreground color is set to white. When you paint white in Quick Mask Mode, you’re removing the red overlay from that area, which means you’re adding it to your selection. Zoom in close to the edges of your subject and start painting over any gaps or missed sections. Snider uses this specifically to recover a thin, narrow element that the Quick Selection tool had completely skipped over, and she’s right that trying to use a selection tool to grab something that small and specific would take far longer than just painting it in directly. Adjust your brush size with the bracket keys to match the scale of what you’re correcting.
Brush tool active, painting over unselected area to add it to selection
Press B to activate the Brush tool. Make sure your foreground color is set to white. When you paint white in Quick Mask Mode, you’re removing the red overlay from that area, which means you’re adding it to your selection. Zoom in close to the edges of your subject and start painting over any gaps or missed sections. Snider uses this specifically to recover a thin, narrow element that the Quick Selection tool had completely skipped over, and she’s right that trying to use a selection tool to grab something that small and specific would take far longer than just painting it in directly. Adjust your brush size with the bracket keys to match the scale of what you’re correcting.
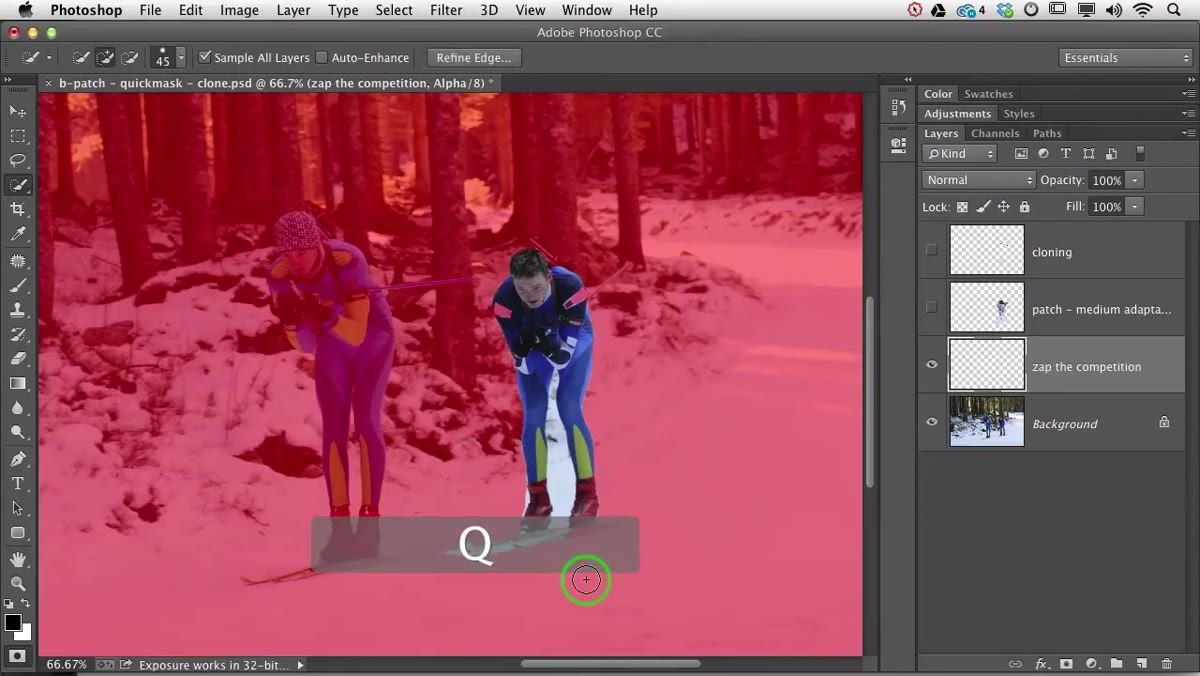
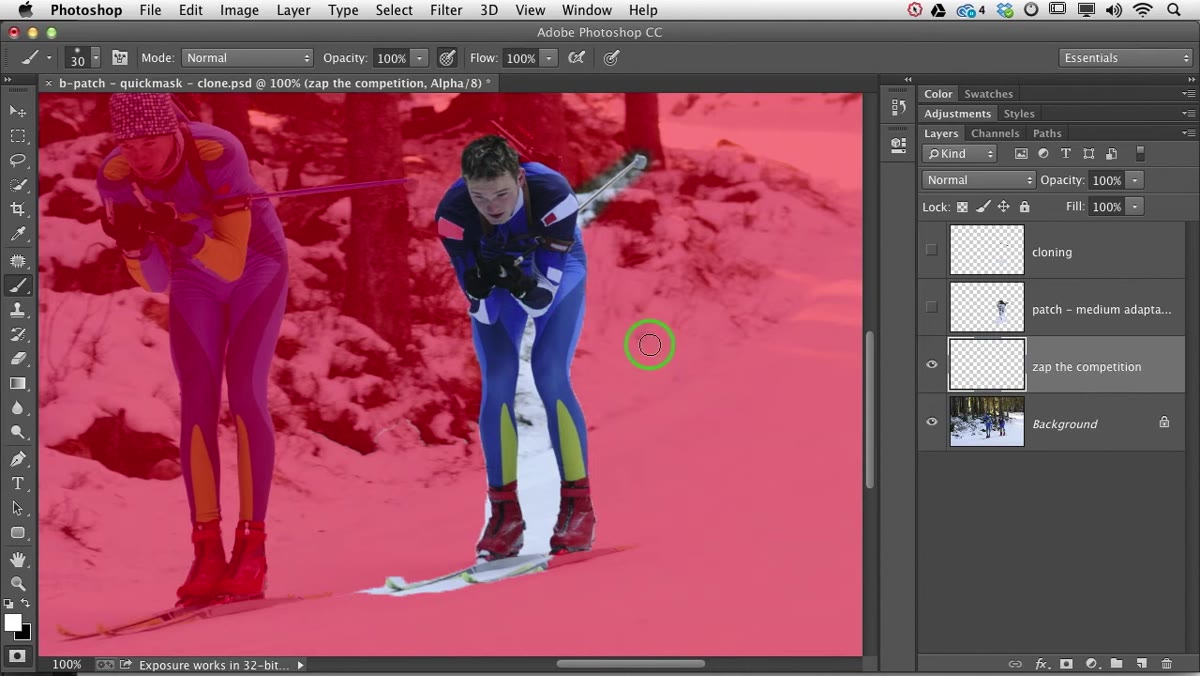
Step 5: Press X to Switch to Black and Remove from the Selection
 Foreground color switched to black, painting to subtract from selection
If you overshoot and add too much, press X to swap your foreground and background colors. Now you’re painting with black, which adds the red overlay back and removes those areas from the selection. This flip-flop between white and black is the entire editing mechanism in Quick Mask Mode. You’re not using different tools or modes, you’re just switching which color the brush is applying. It keeps the workflow tight and fast. Paint what you want, press X, paint out what you don’t, press X again. Repeat at whatever zoom level gives you the control you need.
Foreground color switched to black, painting to subtract from selection
If you overshoot and add too much, press X to swap your foreground and background colors. Now you’re painting with black, which adds the red overlay back and removes those areas from the selection. This flip-flop between white and black is the entire editing mechanism in Quick Mask Mode. You’re not using different tools or modes, you’re just switching which color the brush is applying. It keeps the workflow tight and fast. Paint what you want, press X, paint out what you don’t, press X again. Repeat at whatever zoom level gives you the control you need.
Step 6: Press Q Again to Exit and Review the Active Selection
 Marching ants visible on updated selection after exiting Quick Mask
When the selection looks right in the overlay view, press Q to return to normal mode. Your marching ants will now reflect everything you painted. Check the edges at a few different zoom levels to make sure the refinements held. If something looks off, press Q again and keep painting. There’s no penalty for going back and forth, and that iterative approach is how you actually get to a clean edge rather than accepting whatever the automated tool decided.
Marching ants visible on updated selection after exiting Quick Mask
When the selection looks right in the overlay view, press Q to return to normal mode. Your marching ants will now reflect everything you painted. Check the edges at a few different zoom levels to make sure the refinements held. If something looks off, press Q again and keep painting. There’s no penalty for going back and forth, and that iterative approach is how you actually get to a clean edge rather than accepting whatever the automated tool decided.
One Thing I’d Add from My Own Work
Quick Mask Mode is especially valuable when contrast is low, which Snider mentions, but I’d push further and say it’s also where you go when the subject itself has internal complexity. On poster work, I’ll often find that the Quick Selection tool grabs the subject as one shape but misses a gap between an arm and a body, or includes a piece of background that happened to match the subject’s color. Quick Mask lets you deal with those interior holes and inclusions cleanly. My habit is to make the selection slightly larger than the actual subject, exit Quick Mask, then use Refine Edge or a layer mask to pull back to the true boundary. That extra margin gives you something to work with instead of starting too tight and chasing the edge inward.
The real value of Quick Mask Mode is that it hands control back to you at the moment when the software’s judgment stops being useful. Every selection tool makes assumptions, and those assumptions are usually good enough for most of the image. But “most of” isn’t finished. Painting your corrections in a visual overlay takes the guesswork out of the final 10%, and that’s exactly where composite quality is won or lost.
Watch the full tutorial on YouTube and see Snider walk through the complete workflow, including the context of the original selection she’s refining.
Comments
Leave a Comment