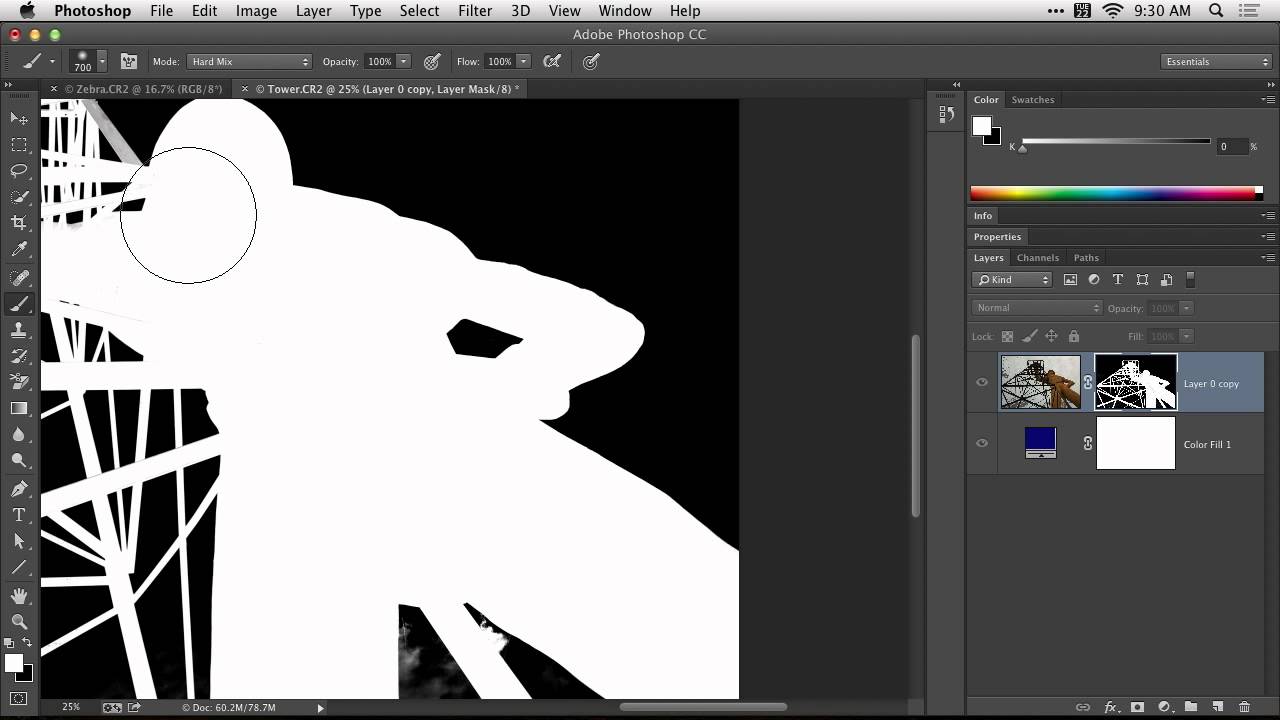
Every composite artist has a version of this moment: you’ve spent an hour isolating a subject, the mask looks clean at normal zoom, and then you toggle off the background layer and see it. A thin sliver of transparency where there should be solid white. A hint of checkerboard bleeding through an arm or a shoulder. It’s not catastrophic, but it has to be fixed, and fixing it carefully is where time goes to die.
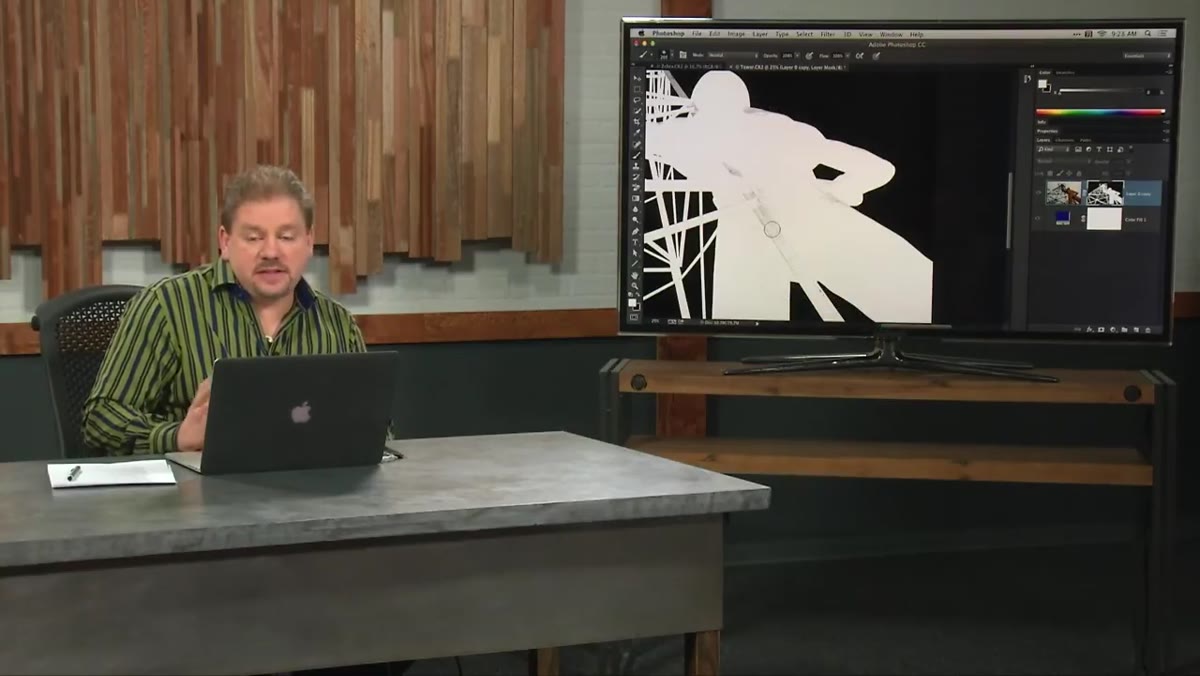
The obvious answer is to grab a paintbrush, switch to white, and manually touch up the offending spots. I’ve done this hundreds of times. The problem is that “careful” and “fast” don’t coexist when you’re painting near a complex edge. A soft-edged brush drifts past the boundary and suddenly you’ve got a faint glow around your subject, a telltale halo that screams “this was composited.” I’ve rebuilt entire masks because a cleanup pass made things worse. So when I came across this CreativeLive tutorial on mask cleanup, I paid attention. Watch the full tutorial on YouTube before or after reading this — it’s short, and seeing the brush behavior in motion is useful.
The technique the instructor demonstrates centers on the brush blending mode, specifically a setting called Hard Mix that most people ignore entirely. It’s one of those options that looks useless until it solves exactly the right problem. Here’s how to use it.
Step 1: Identify the Problem Area on Your Mask
 Checkerboard showing through mask near subject’s edge
Before you touch any tools, zoom in on your mask and find the areas where transparency is creeping in where it shouldn’t be. Toggle the layer beneath your subject on and off. If you see any checkerboard bleeding through on what should be a solid, opaque region of your subject, that’s your target. These patches are usually small, scattered across interior areas of the subject, and nowhere near the edge — which means you should theoretically be able to paint over them without disturbing the silhouette. The challenge is that “theoretically” does a lot of heavy lifting once a soft brush is involved.
Checkerboard showing through mask near subject’s edge
Before you touch any tools, zoom in on your mask and find the areas where transparency is creeping in where it shouldn’t be. Toggle the layer beneath your subject on and off. If you see any checkerboard bleeding through on what should be a solid, opaque region of your subject, that’s your target. These patches are usually small, scattered across interior areas of the subject, and nowhere near the edge — which means you should theoretically be able to paint over them without disturbing the silhouette. The challenge is that “theoretically” does a lot of heavy lifting once a soft brush is involved.
Step 2: Select the Paintbrush and Set Color to White
 Standard paintbrush selected with white as foreground color
Make sure you’re working directly on the mask, not the layer itself. Click the mask thumbnail in the Layers panel so it has a border around it. Set your foreground color to white. White on a mask means “reveal,” so you’re essentially filling in those transparent gaps. Use the standard paintbrush tool here — nothing exotic, just the same brush you’d use for any painting task. The real changes are going to happen in the Options Bar across the top of the screen, not in the brush picker itself.
Standard paintbrush selected with white as foreground color
Make sure you’re working directly on the mask, not the layer itself. Click the mask thumbnail in the Layers panel so it has a border around it. Set your foreground color to white. White on a mask means “reveal,” so you’re essentially filling in those transparent gaps. Use the standard paintbrush tool here — nothing exotic, just the same brush you’d use for any painting task. The real changes are going to happen in the Options Bar across the top of the screen, not in the brush picker itself.
Step 3: Change the Brush Blending Mode to Hard Mix
 Blending mode dropdown in Options Bar showing Hard Mix selected
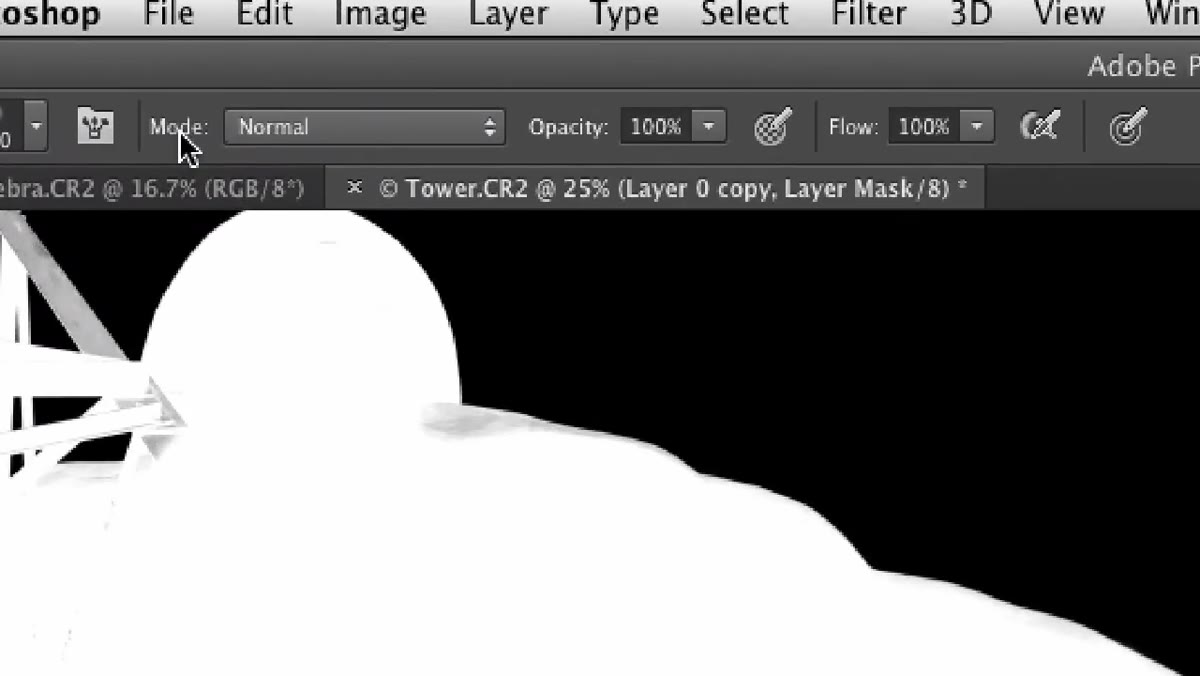
In the Options Bar at the top of the screen, find the blending mode dropdown — it defaults to Normal. Open it and choose Hard Mix. This is the key move. Hard Mix changes the way the brush interacts with what it paints over, and when you’re working on a mask, it does something particularly useful: it protects the opposite color from what you’re painting with. Since you’re painting with white, it protects solid black. This means if you drift over the edge of your subject and into the dark background area of the mask, the brush will largely leave those black pixels alone. You lose the requirement to be precise near edges. You can paint somewhat aggressively through the interior of your subject and trust that the solid black regions are protected.
Blending mode dropdown in Options Bar showing Hard Mix selected
In the Options Bar at the top of the screen, find the blending mode dropdown — it defaults to Normal. Open it and choose Hard Mix. This is the key move. Hard Mix changes the way the brush interacts with what it paints over, and when you’re working on a mask, it does something particularly useful: it protects the opposite color from what you’re painting with. Since you’re painting with white, it protects solid black. This means if you drift over the edge of your subject and into the dark background area of the mask, the brush will largely leave those black pixels alone. You lose the requirement to be precise near edges. You can paint somewhat aggressively through the interior of your subject and trust that the solid black regions are protected.
Step 4: Understand Why Hard Mix Can Be Too Aggressive by Itself
 Hard Mix brush causing abrupt changes to near-black gray areas
Here’s the catch, and it matters. Hard Mix only protects pixels that are truly, fully black. Any pixel in your mask that’s a very dark gray — not pure black, just slightly above it — is not protected. If your mask has residual gray fringing, old selections, or semi-transparent edges bleeding into what should be the background, Hard Mix will reach in and change those. In practice this means the brush, at full opacity, can be brutal. It forces things to extremes too quickly and can damage subtlety in areas you actually wanted to preserve, like soft hair edges or fabric with some translucency. It’s a blunt instrument at 100%.
Hard Mix brush causing abrupt changes to near-black gray areas
Here’s the catch, and it matters. Hard Mix only protects pixels that are truly, fully black. Any pixel in your mask that’s a very dark gray — not pure black, just slightly above it — is not protected. If your mask has residual gray fringing, old selections, or semi-transparent edges bleeding into what should be the background, Hard Mix will reach in and change those. In practice this means the brush, at full opacity, can be brutal. It forces things to extremes too quickly and can damage subtlety in areas you actually wanted to preserve, like soft hair edges or fabric with some translucency. It’s a blunt instrument at 100%.
Step 5: Reduce Opacity to 20-30% for Controlled Application
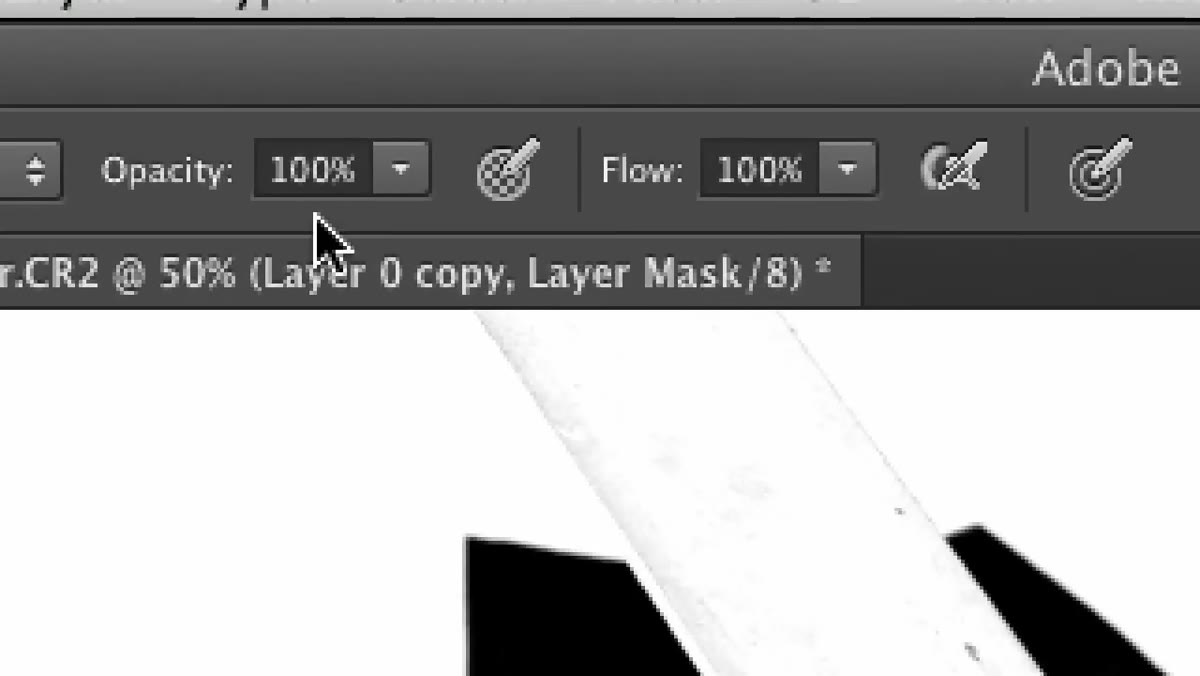 Opacity field in Options Bar set to 20 percent
The fix is simple: bring the brush opacity down. The instructor recommends somewhere between 20 and 30 percent, and that range holds up in practice. At that level, Hard Mix still does its job of protecting solid black, but it builds up gradually rather than slamming pixels to white in a single stroke. You can make multiple passes over a problem area and dial in the result incrementally. The fastest way to set opacity is with the number keys on your keyboard. Hit 2 for 20%, hit 3 for 30%, hit 0 for 100%. You don’t have to click anywhere in the Options Bar. For most mask cleanup work, I stay at 2 or 3 and just build up coverage with overlapping strokes.
Opacity field in Options Bar set to 20 percent
The fix is simple: bring the brush opacity down. The instructor recommends somewhere between 20 and 30 percent, and that range holds up in practice. At that level, Hard Mix still does its job of protecting solid black, but it builds up gradually rather than slamming pixels to white in a single stroke. You can make multiple passes over a problem area and dial in the result incrementally. The fastest way to set opacity is with the number keys on your keyboard. Hit 2 for 20%, hit 3 for 30%, hit 0 for 100%. You don’t have to click anywhere in the Options Bar. For most mask cleanup work, I stay at 2 or 3 and just build up coverage with overlapping strokes.
Step 6: Paint Over the Problem Regions With Confident Strokes
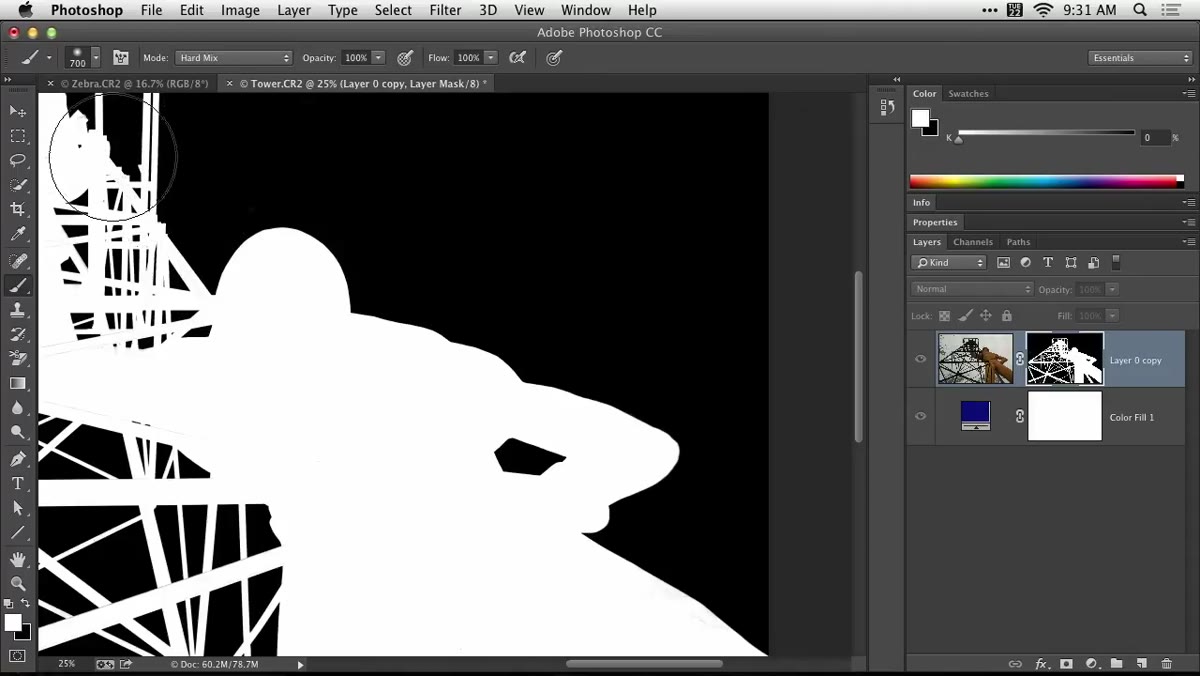 White brush strokes covering interior mask gaps near subject’s arm
With Hard Mix active at 20-30% opacity, paint over the areas where transparency is showing through. You can move at a normal pace rather than creeping pixel by pixel. If you overlap onto the surrounding background, the black is protected. If you need a few passes to fill a spot completely, that’s fine — the gradual buildup gives you more control than a single heavy stroke. Zoom in enough to see what you’re doing, but you don’t need to zoom in so far that you lose context for where the edges actually are.
White brush strokes covering interior mask gaps near subject’s arm
With Hard Mix active at 20-30% opacity, paint over the areas where transparency is showing through. You can move at a normal pace rather than creeping pixel by pixel. If you overlap onto the surrounding background, the black is protected. If you need a few passes to fill a spot completely, that’s fine — the gradual buildup gives you more control than a single heavy stroke. Zoom in enough to see what you’re doing, but you don’t need to zoom in so far that you lose context for where the edges actually are.
A Note From My Own Work: When to Avoid This Technique
Hard Mix at reduced opacity is excellent for solid interior regions, clothing, skin, anything with a clean opaque boundary. I reach for it constantly when a quick mask or a Select Subject result left islands of transparency scattered through a subject’s body.
What it doesn’t handle well is hair, fur, or any edge that’s supposed to have genuine transparency. The protection logic breaks down there because those edges should have gray values — that’s what makes them read as soft or wispy. If you use this technique near a hair edge, you risk hardening it into something that looks cut out with scissors. In those situations, I go back to Refine Edge or work with a dedicated hair mask and keep the Hard Mix brush well away from the perimeter. Use it as a scalpel on the interior, not a paintbrush across the whole mask.
The single most important idea from this tutorial is that brush blending modes aren’t just for painting on layers. Applying them to mask work, specifically using Hard Mix to create a self-imposed boundary that protects black while you fill in white, removes the painstaking precision requirement from a task that used to eat significant time. Pair it with a low opacity and you have a cleanup method that’s both fast and recoverable.
Watch the full tutorial on YouTube to see the brush behavior demonstrated in real time — the moment where the instructor shows what happens when you drift over a near-black area is especially useful for understanding where the technique’s limits sit.
Comments (2)
Just subscribed. If the rest of your content is this good, I'm in.
Been doing this wrong for years apparently. Thanks for the wake-up call.
Leave a Comment