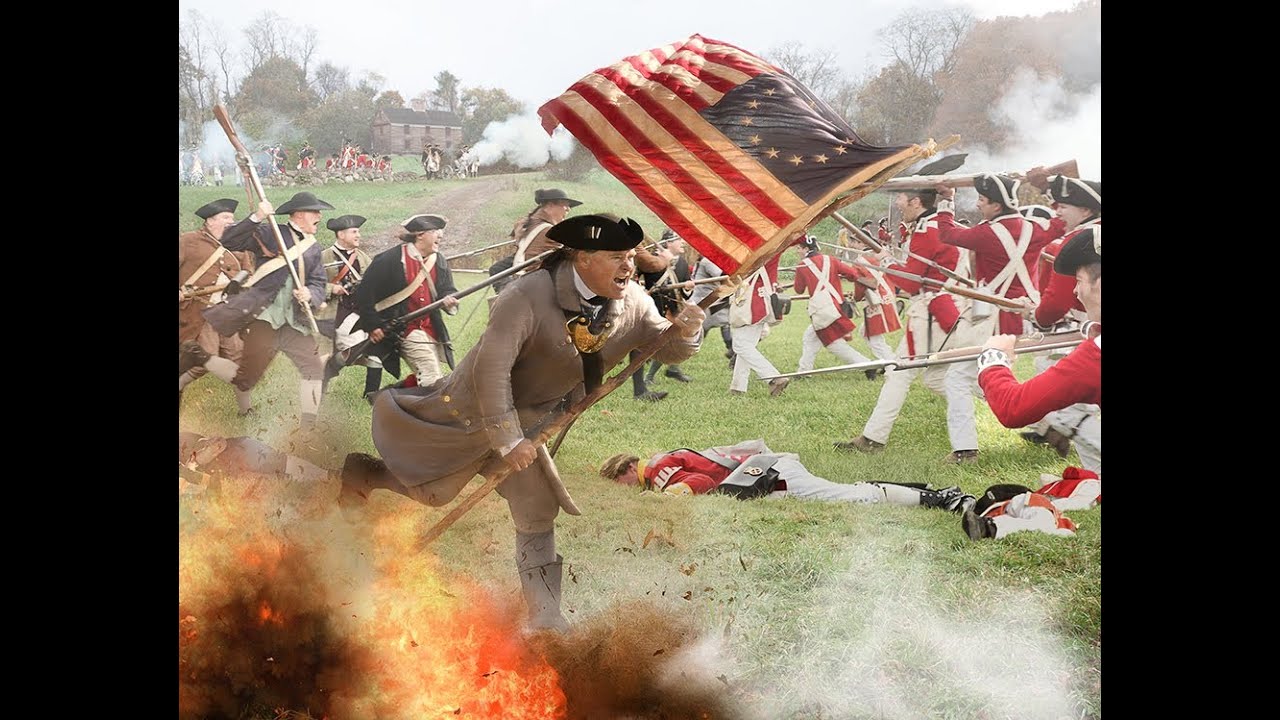
There’s a version of compositing where you grab whatever images you can find, stack them in Photoshop, and spend the next three days trying to make them feel like they belong to the same universe. I’ve done it. Most of us have. The light is always slightly wrong, the perspective never quite lines up, and you end up painting yourself into corners that a little planning would have avoided entirely. The real skill in composite work isn’t the blending. It’s knowing, before you press the shutter once, exactly what each image needs to be when it lands in your file.
That’s why this tutorial stopped me mid-scroll. In this The Slanted Lens tutorial on photographing a composite, Jay P. Morgan walks through the full production of a Revolutionary War battle scene shot on location in Concord and Lexington, Massachusetts. Five separate shoots. One coherent image. The whole thing is a masterclass in thinking like a compositor before you ever pick up a camera, and it maps directly onto the kind of work I do building movie poster and album art composites where every element has to feel like it was always together.
What follows is a step-by-step breakdown of the method so you can apply it on your next shoot, whether your subject is a historical battle scene or a single figure against a dramatic sky.
Step 1: Shoot the Background Plate First
 Photographer evaluating a hillside field location in Massachusetts
Before any talent, before any lighting decisions, you need your background plate. This is the image that sets every other constraint in the project. The perspective, the light direction, the time of day, the focal length: all of it locks in the moment you commit to a background.
Photographer evaluating a hillside field location in Massachusetts
Before any talent, before any lighting decisions, you need your background plate. This is the image that sets every other constraint in the project. The perspective, the light direction, the time of day, the focal length: all of it locks in the moment you commit to a background.
In the tutorial, the location scouting process is deliberate and unhurried. The team walks multiple fields, evaluating each one for compositional needs: a hillside that allows figures to be placed at different depths, a road, a historically significant setting that adds context. When they settle on a location along Battle Road, the decision is practical as much as aesthetic. Shoot at eye level or low to the ground? They test both. They ultimately commit to eye level, and that single decision governs every plate that follows.
Step 2: Lock Your Camera Angle and Commit to It
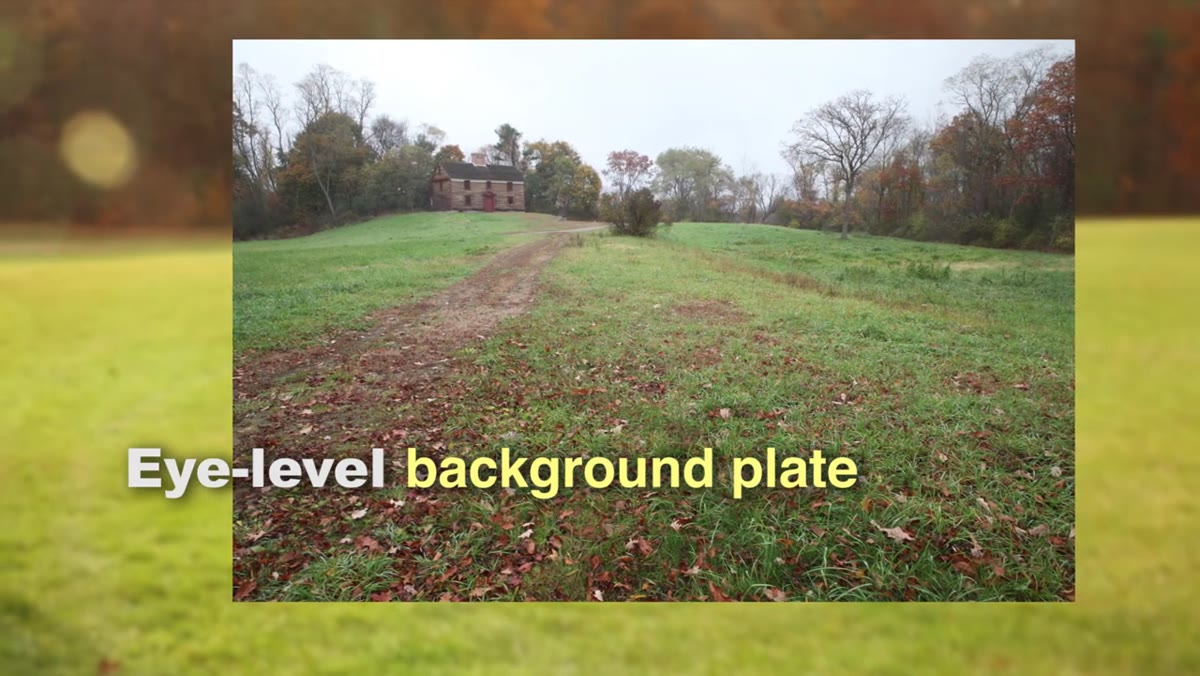 Eye-level background plate of the field, established as the composite’s camera angle
This is where most people lose the composite before they’ve started. Once your background plate is captured, that camera height and angle is no longer a preference. It’s a rule. Every subsequent element needs to be photographed to match it.
Eye-level background plate of the field, established as the composite’s camera angle
This is where most people lose the composite before they’ve started. Once your background plate is captured, that camera height and angle is no longer a preference. It’s a rule. Every subsequent element needs to be photographed to match it.
If you shot your background at roughly 5.5 feet with a 50mm lens, you can’t suddenly drop to 3 feet for your hero shot and expect it to integrate cleanly. The horizon line will be wrong. The perspective on your subject’s feet and head will fight the background. In the tutorial, they make this explicit: the eye-level background plate becomes the camera angle for every remaining shoot. Write it down. Tape it to your camera bag if you have to.
Step 3: Capture Background Battle Elements at a Public Event
 Reenactment soldiers in uniform with black powder smoke, shot from sidelines
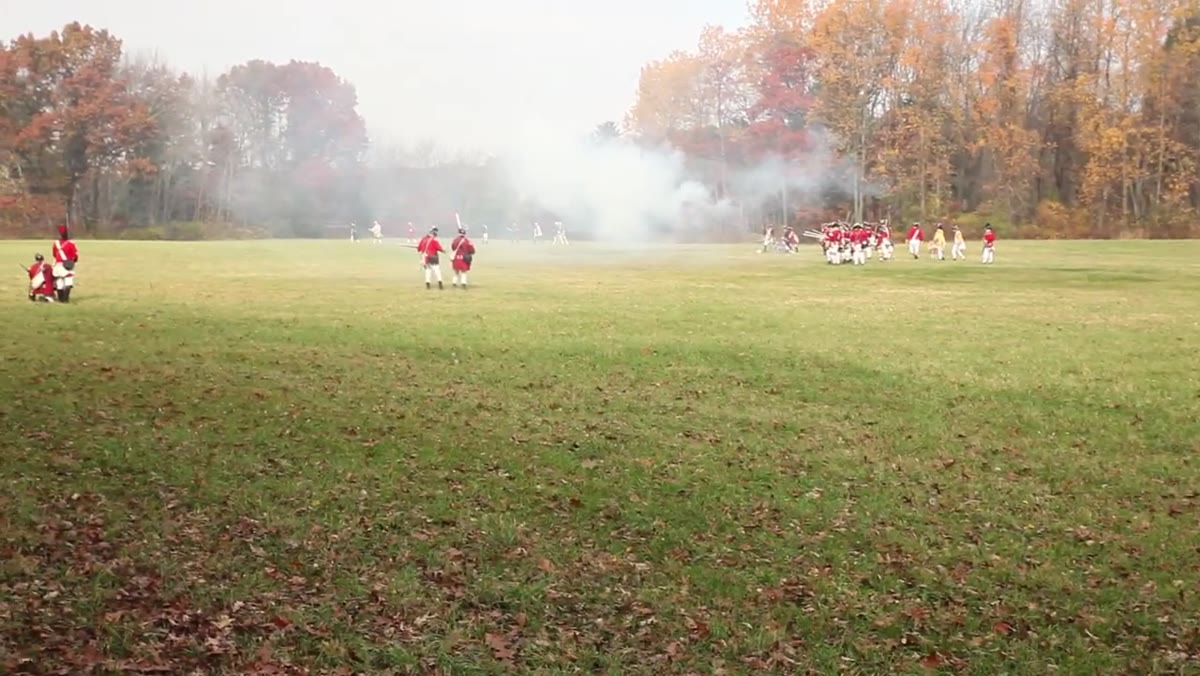
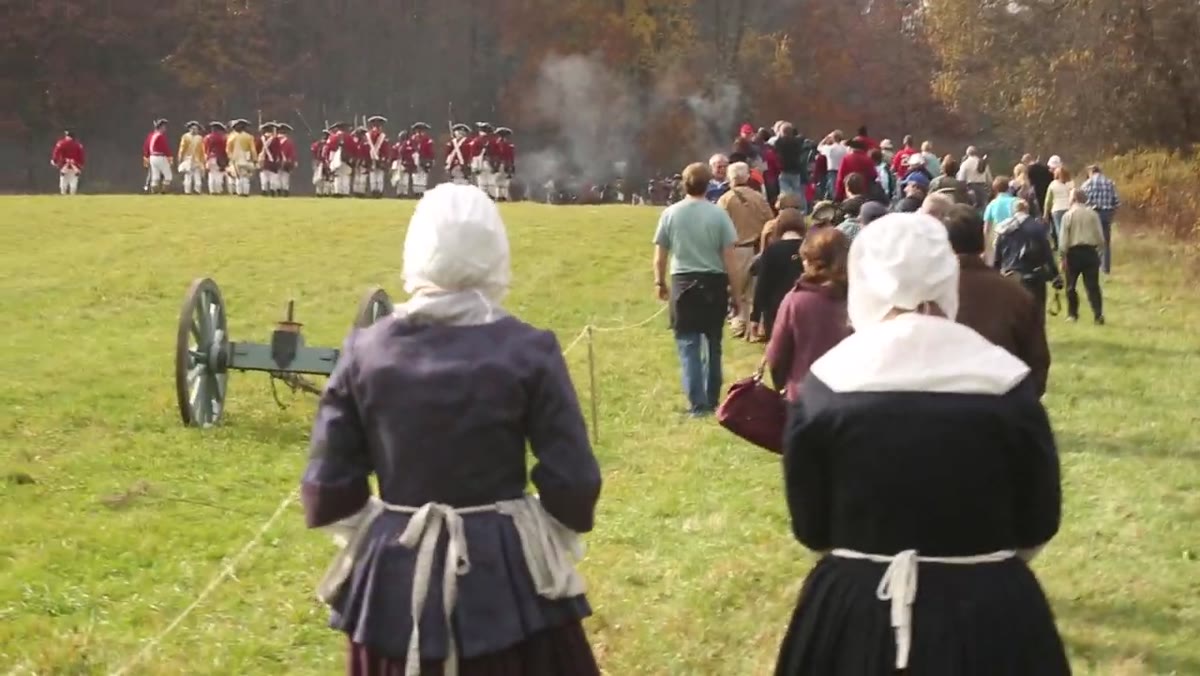
Not every composite has the budget for a full private shoot. Here, the solution is resourceful: attend a reenactment and photograph from the sidelines. You’re not directing anything. You’re hunting for usable groups.
Reenactment soldiers in uniform with black powder smoke, shot from sidelines
Not every composite has the budget for a full private shoot. Here, the solution is resourceful: attend a reenactment and photograph from the sidelines. You’re not directing anything. You’re hunting for usable groups.
The key insight from this section is to look for self-contained clusters. Isolated groups that aren’t cut off by the frame edges are far more useful in post than tightly cropped figures. A cannon crew surrounded by smoke, fully within the frame, can be scaled down and placed anywhere in your scene. The same group cropped at the knees is pinned to the ground plane and nearly impossible to reuse cleanly. Shoot wide, move around the edges, and think in terms of cutouts the entire time you’re there.
Step 4: Shoot a Controlled Foreground Group for Motion and Texture
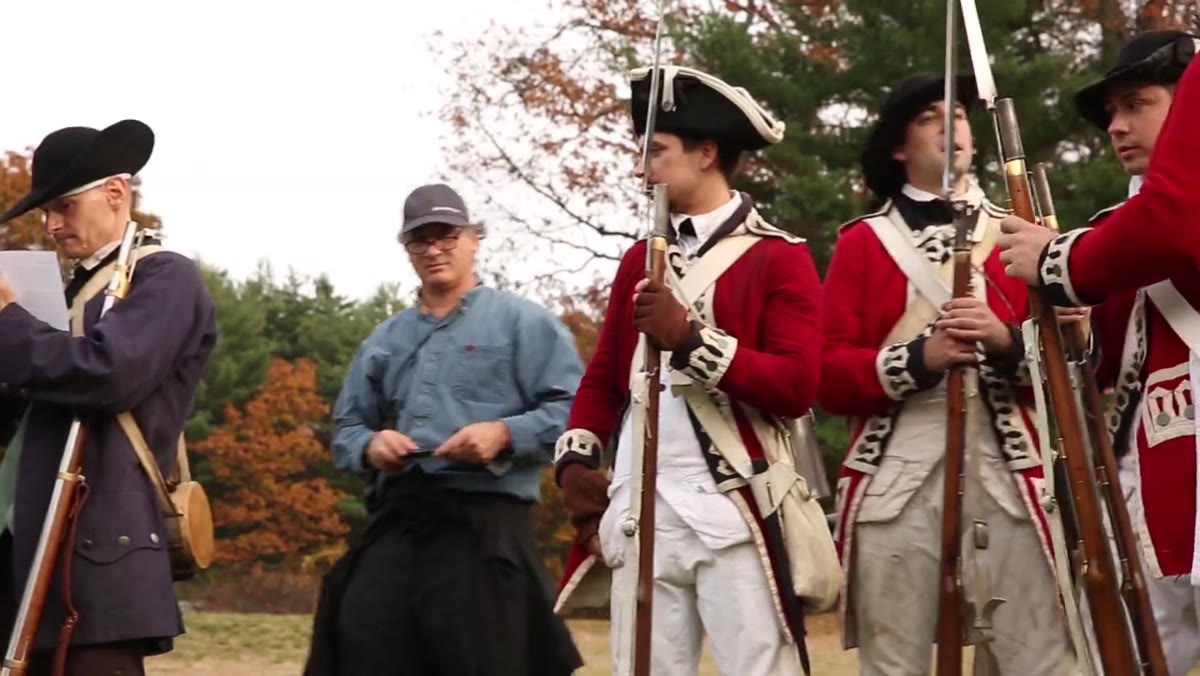 Foreground battle group running together, ambient light plus strobe from camera right
The background battle elements handle depth and context. The foreground group creates energy. In the tutorial, a smaller group of reenactors is brought to the field separately, after the main event, so they can be directed. This gives control over framing, timing, and crucially, lighting.
Foreground battle group running together, ambient light plus strobe from camera right
The background battle elements handle depth and context. The foreground group creates energy. In the tutorial, a smaller group of reenactors is brought to the field separately, after the main event, so they can be directed. This gives control over framing, timing, and crucially, lighting.
The approach here is smart and transferable. The ambient light is used as the base exposure. A strobe is added from camera right, behind the subjects, to act as a rim light that mimics the directional sunlight from earlier in the afternoon. This is the move: match your added light to the light already established in your background plate. When you let the subjects blur slightly as they move, you introduce motion that reads as natural rather than frozen, which helps the composite feel alive rather than assembled.
Step 5: Build a Motion Rig for Your Hero Shot
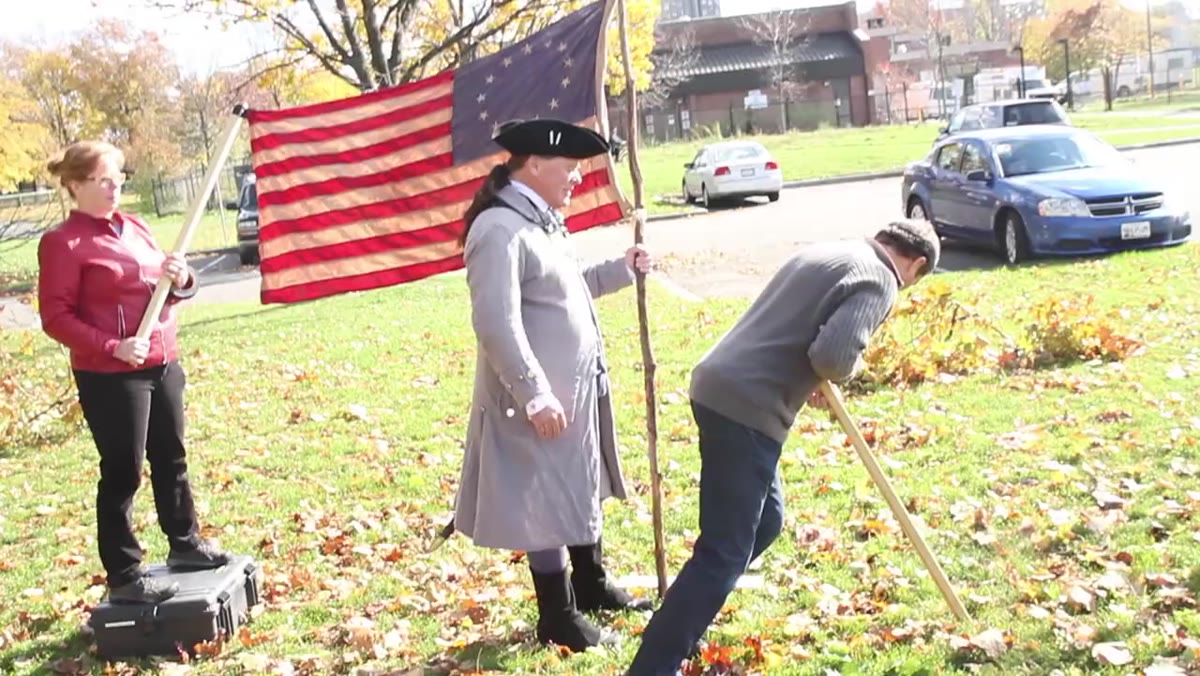 Simple motion rig setup for hero subject, built on location from lumber
The hero shot is where the composite lives or dies, and it’s the most technically demanding plate to capture. When the crew runs out of light on shoot day, they bring the main talent back the following day, a decision that reflects the right priority: get the shot correctly rather than settle for close enough.
Simple motion rig setup for hero subject, built on location from lumber
The hero shot is where the composite lives or dies, and it’s the most technically demanding plate to capture. When the crew runs out of light on shoot day, they bring the main talent back the following day, a decision that reflects the right priority: get the shot correctly rather than settle for close enough.
A motion rig is constructed on location to simulate the physical dynamics of a running figure. The rig controls the movement of the subject’s clothing and stabilizes their feet, so the final image reads as genuinely kinetic rather than artificially posed. The lighting setup uses a portable power pack driving a large softbox, positioned to match the direction and quality of the light established in the background plate. Every choice circles back to that first decision made at the location: the eye-level background.
What I’d Add From My Own Practice
The tutorial doesn’t spend much time on pre-visualization, but it’s the step I’d put before everything else. I sketch every composite on paper before I open a single file. Not because the sketch is accurate, but because it forces me to answer the hard questions early: Where is the sun? What time of day does this feel like? Which elements need to be lit from the left? If you can answer those questions on paper, every shooting decision becomes easier to make in the field. When I was building a series of historical battle composites for a book cover project, I kept a printed reference of the background plate taped to my monitor during every satellite shoot. It sounds basic. It made a real difference.
The single most important idea in this tutorial is sequence. Background first, camera angle locked, every plate shot to serve the one that came before it. Everything else, the lighting matching, the motion rigs, the strategic use of a public event, flows from that discipline. Get the sequence right, and the compositing becomes execution rather than rescue.
Watch the full tutorial on YouTube to see the actual footage and behind-the-scenes setups from each of the five shoots.
Comments (3)
I keep coming back to this article. It's that useful.
This is the kind of content that keeps me coming back.
Love this. I referenced a similar technique in one of my recent posts. Always good to see other perspectives.
Leave a Comment