The miniature effect — making real-world scenes look like tiny scale models — exploits a quirk of human visual perception. When we look at small objects close-up, the depth of field is extremely shallow. By artificially reducing the depth of field in a full-scale photograph, our brain interprets the scene as miniature.
Why It Works
Real tilt-shift lenses create this effect optically by tilting the lens plane relative to the sensor. This puts a narrow horizontal band in sharp focus while blurring everything above and below it. The effect mimics the shallow depth of field you’d see when photographing an actual scale model from close range.
In Photoshop, we simulate this optical effect with selective blur.
Choosing the Right Source Image
Not every photo works for the miniature effect. The best candidates share these characteristics:
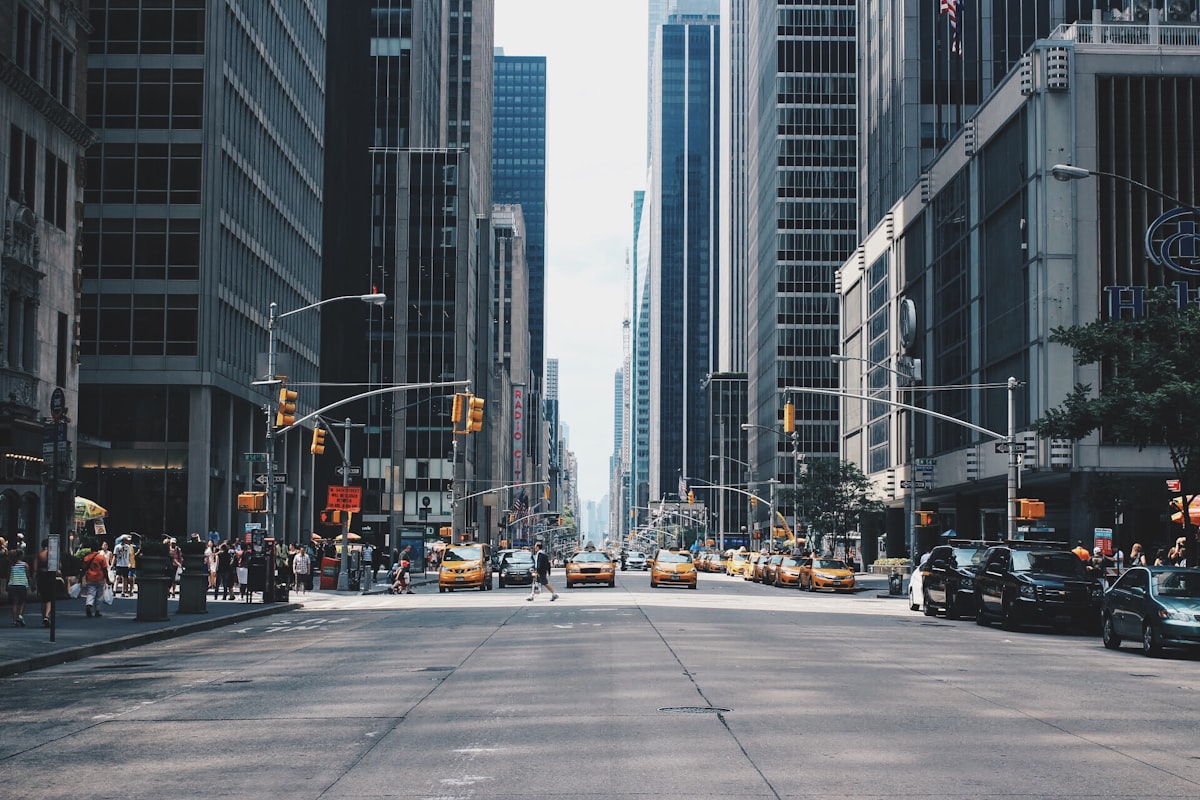
Shot from above. A high vantage point — rooftops, bridges, hillsides, drone shots — is essential. The overhead perspective matches how we’d naturally view a scale model on a tabletop.
Contains recognizable objects at known scale. Cars, people, buildings, trees — objects whose real size we know instinctively. Without scale references, the brain can’t determine “this looks miniature.”
Simple, uncluttered scenes. Busy, complex scenes with objects at many different depths confuse the effect. Clean compositions with distinct planes work best.
Bright, saturated colors. Scale models are painted, and paint is more saturated than real-world surfaces. Boosting saturation reinforces the miniature illusion.
The Basic Technique
Step 1: Apply Tilt-Shift Blur
Go to Filter > Blur Gallery > Tilt-Shift. This opens Photoshop’s interactive blur tool with a horizontal band of focus.
Position the sharp band across the area you want in focus — typically the main subject plane. Adjust the width of the transition zone. For a convincing miniature effect, the sharp band should be relatively narrow (covering about 20-30% of the image height) with a gradual falloff.
Set the blur amount to 15-25 pixels. Too little and the effect is imperceptible. Too much and it looks like a camera malfunction rather than a shallow depth of field.
Step 2: Boost Saturation
Scale models are more colorful than real life. Add a Hue/Saturation adjustment layer and increase saturation by 20-40. This pushes colors toward the painted-model look.
Be selective with saturation. Skin tones can go orange quickly. Use the Hue/Saturation targeted adjustment tool to boost blues, greens, reds, and yellows separately while leaving skin tones more natural.
Step 3: Increase Contrast
Add a Curves adjustment layer. Create a mild S-curve — darken the shadows slightly, brighten the highlights slightly. Scale models under studio lighting have higher contrast than outdoor scenes under ambient light. This contrast boost reinforces the “studio lighting” feeling.
Step 4: Warm the Highlights
Scale model photographs often have warm lighting (incandescent studio lights). Add a Color Balance adjustment layer and push highlights slightly toward yellow and red. Keep shadows neutral or slightly cool for contrast.
Advanced Refinements
Manual Blur Control
The tilt-shift filter applies blur in straight horizontal bands, which doesn’t account for objects at different depths. A building on the left might be closer than a building on the right, but the filter blurs them identically.
For more accurate depth simulation, use manual masking:
- Apply Gaussian Blur to a duplicate of the entire image
- Add a layer mask to the blurred layer
- Paint the mask to reveal sharpness on objects at the “in-focus” distance and keep blur on objects closer or farther
This is more work but produces a more convincing result, especially in scenes where depth varies across the frame.
Reduce Detail in Shadows
Real scale models have simpler shadow detail than full-scale scenes. Lift the black point slightly using Levels (move the Output Levels shadow slider to 10-20) to reduce shadow detail. This subtle change makes the image feel more like a studio photograph of a model.
Add a Subtle Vignette
Studio photographs of models often have slight vignetting from the lens being close to the subject. A gentle vignette frames the miniature scene and reinforces the close-up perspective.
Subjects That Work Especially Well
- City streets from above — cars and people become tiny figures in a model town
- Train stations and rail yards — trains are classic model subjects
- Construction sites — heavy equipment looks perfectly like toys
- Harbors and marinas — boats at a dock, shot from a hill above
- Sports stadiums — crowds become painted figurines, the field becomes a model landscape
What Doesn’t Work
- Close-up shots at street level — no depth variation to exploit
- Landscapes without human-scale objects — no reference for miniature interpretation
- Indoor scenes — unless shot from above, the perspective is wrong
- Scenes with people in the foreground — recognizably full-size people break the illusion