Every composite I’ve ever built starts with the same obsession: control. Not broad-stroke, approximately-right control, but the kind of surgical precision that lets you touch one thing without disturbing everything around it. That’s why masking tools are never just features to me. They’re the difference between a finished piece that holds up under scrutiny and one that falls apart the moment someone zooms in. For years, getting that level of control in Lightroom meant either painting a brush mask by hand, pixel by careful pixel, or accepting that your graduated filter was going to bleed into areas you never wanted it to touch.
In this Matt Kloskowski tutorial, a feature called Range Masking gets a clear, methodical breakdown that genuinely changed how I think about making local adjustments inside Lightroom Classic. Watch the full tutorial on YouTube before or after reading through these steps. Kloskowski frames it as a technical deep-dive, and he’s right to do so. This is one of those tools that looks simple on the surface but rewards the effort of actually understanding what it’s doing underneath.
The core idea is this: Range Masking lets you tell Lightroom to apply a local adjustment, a graduated filter, a radial filter, or a brush, only to pixels that fall within a specific range of luminance values or color values. You’re not just drawing a shape on the image and hoping for the best. You’re filtering the effect by what the pixels actually look like. For compositors, that distinction is everything.
Step 1: Confirm You’re Running Lightroom Classic
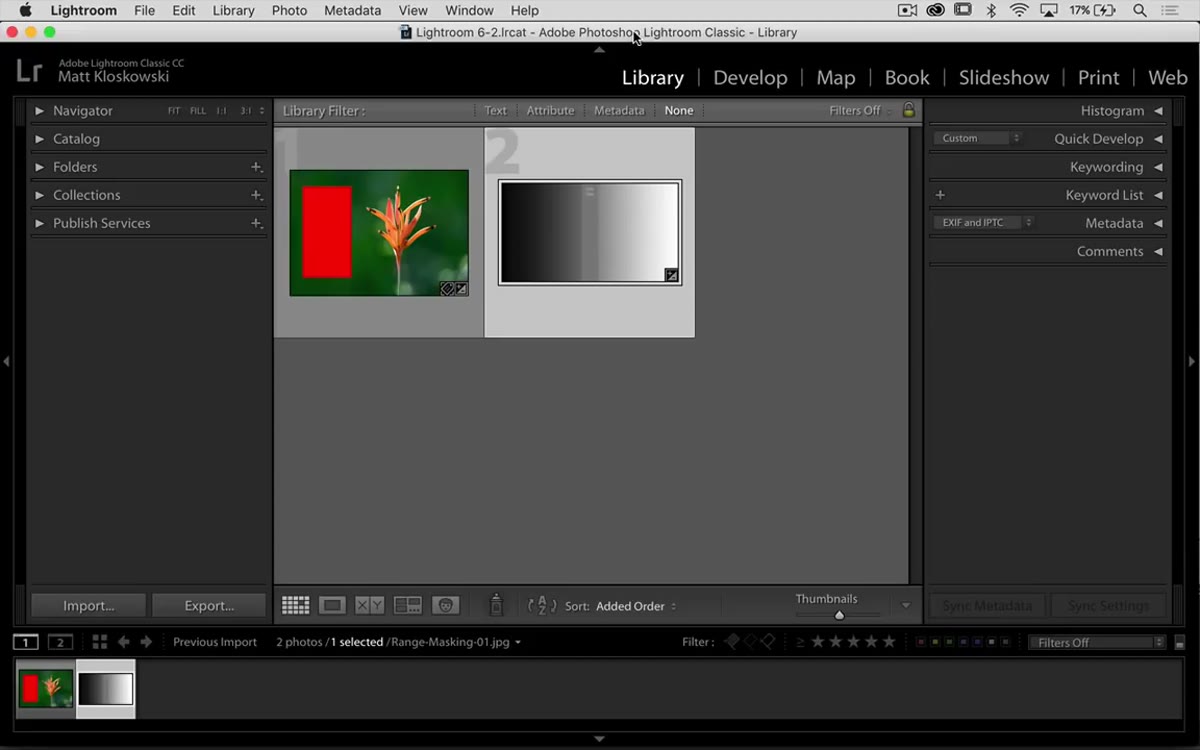 Lightroom Classic title bar visible in the interface
If you updated your Creative Cloud subscription around October 2017 or later, what was previously called Lightroom CC became Lightroom Classic. The Range Mask feature lives in this version. If you’re running an older standalone version, like Lightroom 4, 5, or 6, this feature simply won’t be there. Open Lightroom, glance at the title bar, and confirm you’re in Classic before hunting for anything described below.
Lightroom Classic title bar visible in the interface
If you updated your Creative Cloud subscription around October 2017 or later, what was previously called Lightroom CC became Lightroom Classic. The Range Mask feature lives in this version. If you’re running an older standalone version, like Lightroom 4, 5, or 6, this feature simply won’t be there. Open Lightroom, glance at the title bar, and confirm you’re in Classic before hunting for anything described below.
Step 2: Create a Local Adjustment to Activate Range Masking
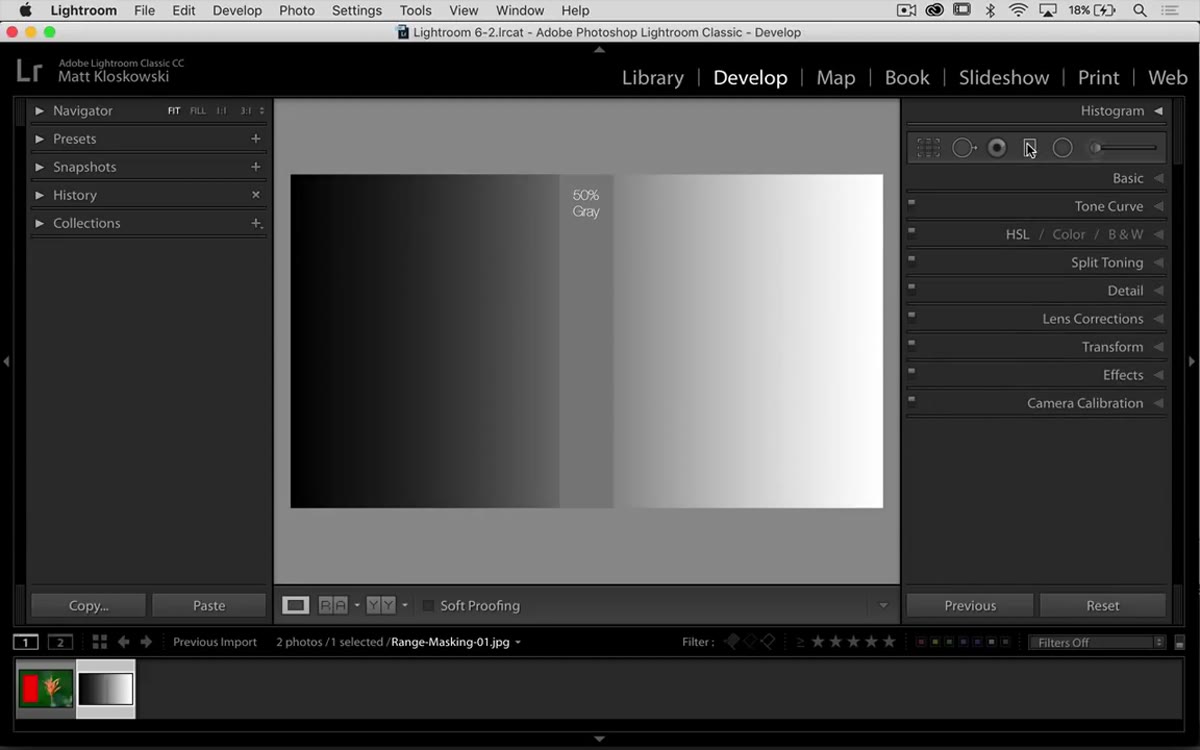 Graduated filter applied across the top of an image
Range Masking isn’t a standalone tool. It activates only after you’ve placed a local adjustment. Grab the Graduated Filter tool and drag it across the top portion of your image. For this exercise, pull the Exposure slider down significantly so you can see the effect clearly. The adjustment will darken the entire area covered by the filter, including any foreground elements that happen to fall inside that gradient. That bleed into unwanted areas is exactly the problem Range Masking solves.
Graduated filter applied across the top of an image
Range Masking isn’t a standalone tool. It activates only after you’ve placed a local adjustment. Grab the Graduated Filter tool and drag it across the top portion of your image. For this exercise, pull the Exposure slider down significantly so you can see the effect clearly. The adjustment will darken the entire area covered by the filter, including any foreground elements that happen to fall inside that gradient. That bleed into unwanted areas is exactly the problem Range Masking solves.
Once the filter is placed, look at the panel below all the adjustment sliders. You’ll see a “Range Mask” dropdown that defaults to “Off.” That dropdown is where everything happens next.
Step 3: Switch Range Mask to Luminance Mode
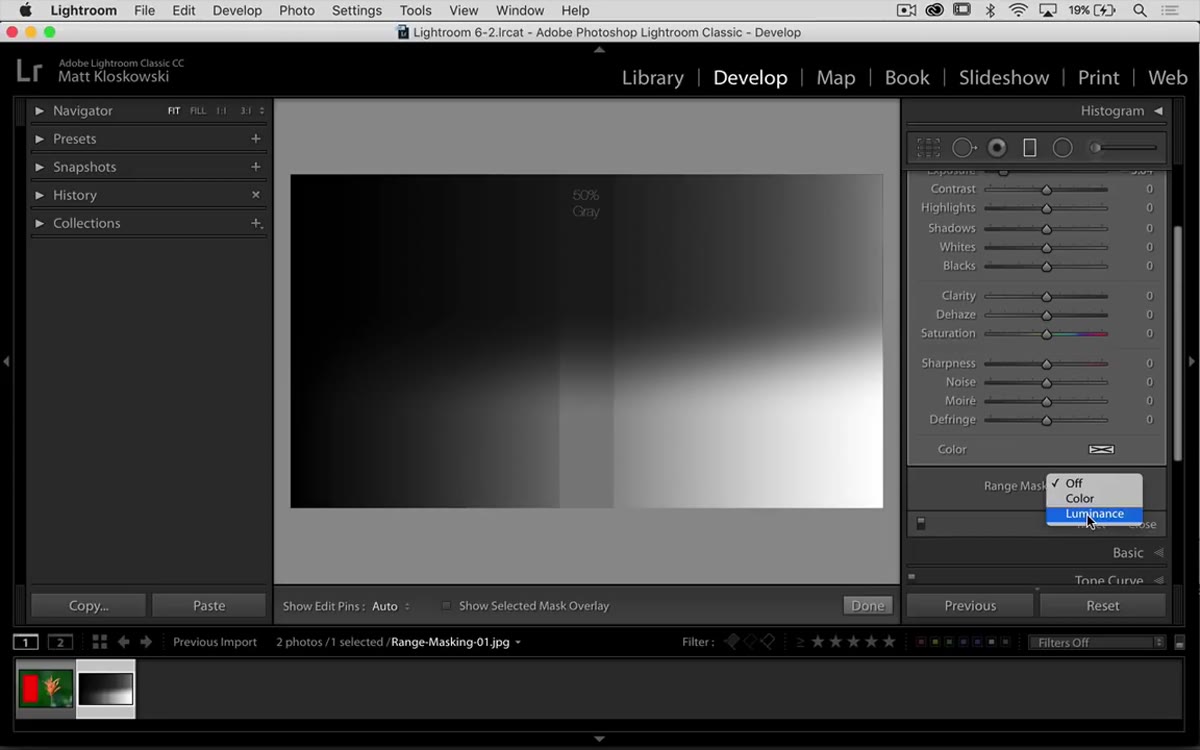 Range Mask dropdown set to Luminance with slider controls visible
Open the Range Mask dropdown and select “Luminance.” Two sliders will appear, representing a range from black (0) to white (100) on a gradient bar. Think of those two handles as defining a window of tonal values. Anything inside that window gets the adjustment. Anything outside it gets left alone.
Range Mask dropdown set to Luminance with slider controls visible
Open the Range Mask dropdown and select “Luminance.” Two sliders will appear, representing a range from black (0) to white (100) on a gradient bar. Think of those two handles as defining a window of tonal values. Anything inside that window gets the adjustment. Anything outside it gets left alone.
To understand the mechanics clearly, pull the Smoothness slider all the way to zero first. This removes any feathering and makes the selection edge hard and obvious, which is exactly what you want while you’re learning where the boundaries actually fall. You can soften the result later once you understand the underlying logic.
Step 4: Set Your Luminance Range
 Luminance sliders positioned near center, showing 50% gray boundary
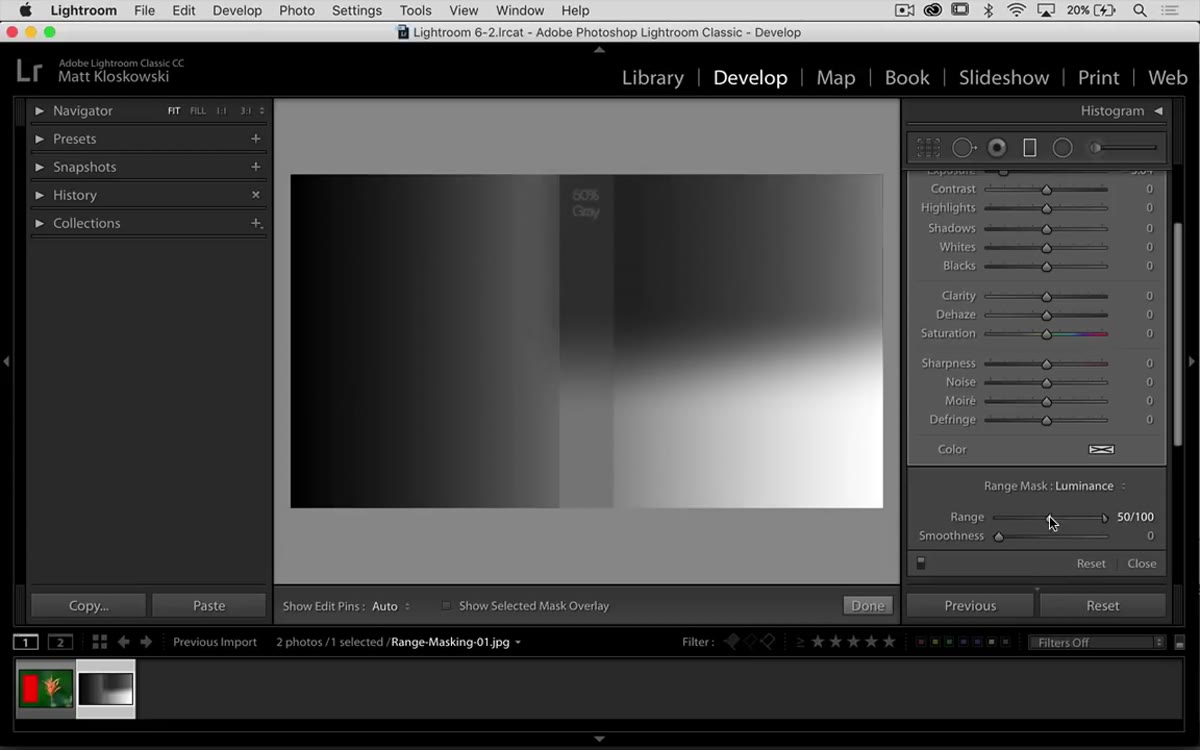
With Smoothness at zero, drag the left handle of the luminance range toward the center and watch what happens to your darkening effect. Kloskowski demonstrates this at roughly the 50% gray mark. Lightroom is now applying your graduated filter only to pixels that fall between that midpoint and pure white, which in a sky photograph means the bright, open areas of the sky are being affected while darker foreground elements get excluded automatically.
Luminance sliders positioned near center, showing 50% gray boundary
With Smoothness at zero, drag the left handle of the luminance range toward the center and watch what happens to your darkening effect. Kloskowski demonstrates this at roughly the 50% gray mark. Lightroom is now applying your graduated filter only to pixels that fall between that midpoint and pure white, which in a sky photograph means the bright, open areas of the sky are being affected while darker foreground elements get excluded automatically.
Move both handles and watch the adjustment creep in from either side. Sliding the right handle left shrinks the upper end of your target range. Sliding the left handle right raises the floor. The result is a tighter, more specific selection based entirely on how bright or dark a pixel is, with no manual painting required.
Step 5: Adjust Smoothness to Feather the Edge
 Smoothness slider raised, showing softened transition on mask edge
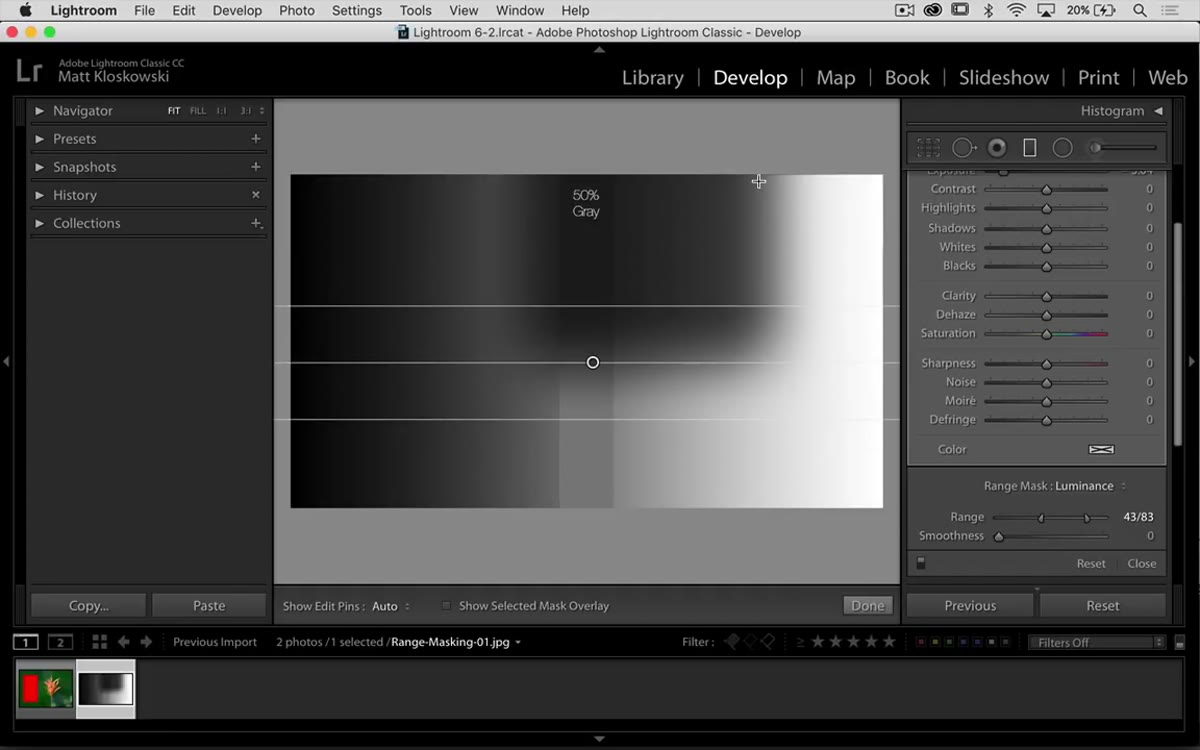
Once your luminance range is roughly where you want it, bring the Smoothness slider back up. At low values the transition between affected and unaffected pixels looks hard and blocky, useful for seeing what’s happening but not for a finished image. As you raise Smoothness, Lightroom builds a gradual falloff across the boundary of your selected range, which is almost always what you want for anything that needs to look natural.
Smoothness slider raised, showing softened transition on mask edge
Once your luminance range is roughly where you want it, bring the Smoothness slider back up. At low values the transition between affected and unaffected pixels looks hard and blocky, useful for seeing what’s happening but not for a finished image. As you raise Smoothness, Lightroom builds a gradual falloff across the boundary of your selected range, which is almost always what you want for anything that needs to look natural.
Think of Smoothness as the equivalent of feathering a selection in Photoshop. A tighter, lower setting keeps the effect precisely contained. A higher setting spreads influence outward and handles soft transitions in the source image more gracefully.
Step 6: Switch to a Color Photo and Try the Color Range Option
 Color photo loaded with a dominant red area visible
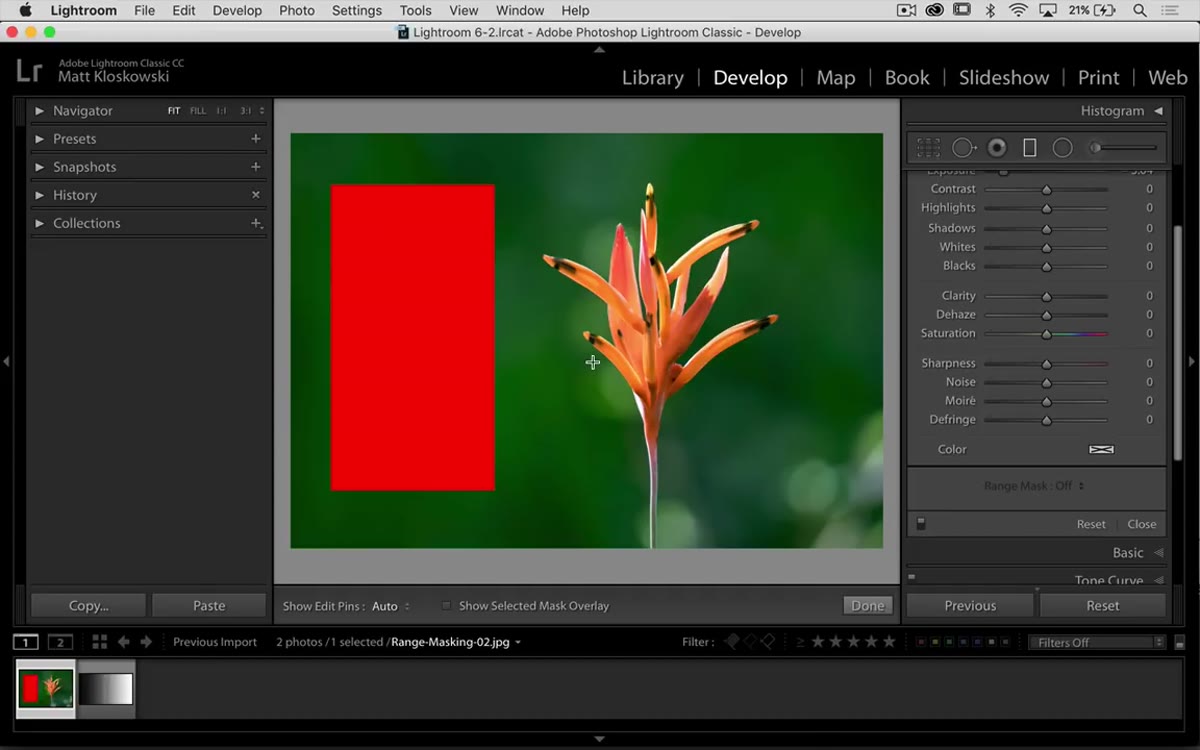
Kloskowski then moves to a color photograph to demonstrate the second Range Mask mode: Color. Apply a new graduated filter across the image with a heavy exposure reduction, just as before. Then open the Range Mask dropdown and this time select “Color” instead of Luminance.
Color photo loaded with a dominant red area visible
Kloskowski then moves to a color photograph to demonstrate the second Range Mask mode: Color. Apply a new graduated filter across the image with a heavy exposure reduction, just as before. Then open the Range Mask dropdown and this time select “Color” instead of Luminance.
The Color mode works differently. Rather than targeting pixels by brightness, it lets you sample specific hues from the image and restrict the adjustment to pixels that match those colors. This is the mode to reach for when your subject has a distinct color that separates it from the background, and you want your adjustment to follow that color rather than a tonal boundary.
Why I Use This Differently Than the Tutorial Suggests
Kloskowski presents Range Masking as a refinement tool, something you reach for after placing a filter to clean up its edges. That’s correct, and that’s how most photographers will use it. But in my compositing work, I often use it in reverse: I apply a very broad local adjustment first, intentionally making it too strong and too wide, and then use the Range Mask to carve it back down to only the pixels I actually want affected.
That approach works especially well when I’m matching light between a subject and a background plate. I’ll push a color grade hard across an entire region, then use Luminance masking to restrict it to just the highlights or just the shadows, whichever zone needs the correction. It’s faster than painting a precise brush mask for complex edges, and it respects the actual tonal structure of the image rather than my approximation of it. The one caveat is that Range Masking in Lightroom is non-destructive but not pixel-level precise the way a channel-based mask in Photoshop is. For final compositing output, I still move into Photoshop. But for the editing and correction work I do inside Lightroom before a file ever gets there, Range Masking has cut my adjustment time significantly.
Range Masking is one of those features that sounds modest until you realize how many tedious workarounds it replaces. The ability to tell Lightroom “apply this only to bright pixels” or “apply this only to red pixels” without painting a single brushstroke is genuinely powerful, and Kloskowski’s breakdown makes the underlying logic easy to internalize.
Watch the full tutorial on YouTube to see both the luminance and color examples demonstrated live in the interface.
Comments
Leave a Comment