There is a specific kind of problem I run into when I’m building a mother-and-child composite from separately shot elements. The poses look plausible in isolation but wrong together. The baby’s weight doesn’t read as supported. The mother’s hands look like props. The whole thing has that uncanny stiffness that tells a viewer something is off before they can name why. The fix, I’ve learned, is not better Photoshop work. It’s better reference material, and that means understanding how a skilled photographer actually constructs these poses in real life before I ever try to fake one in post.
Watch the full tutorial on YouTube
In this CreativeLive tutorial on shooting a mother-child composite, the photographer walks through a standing prayer pose with a newborn who is awake and alert. That’s the hard version. Most tutorials show you the easy conditions. This one shows you the negotiation, the micro-adjustments, the real-time problem solving that happens when a baby refuses to cooperate and a mother’s hands are clammy from nerves and heat. For me, watching this was less about photography and more about understanding the geometry and tension of bodies holding other bodies. That’s exactly the kind of structural knowledge that makes a composite look true.
Step 1: Assess the Subject’s State Before Committing to the Pose
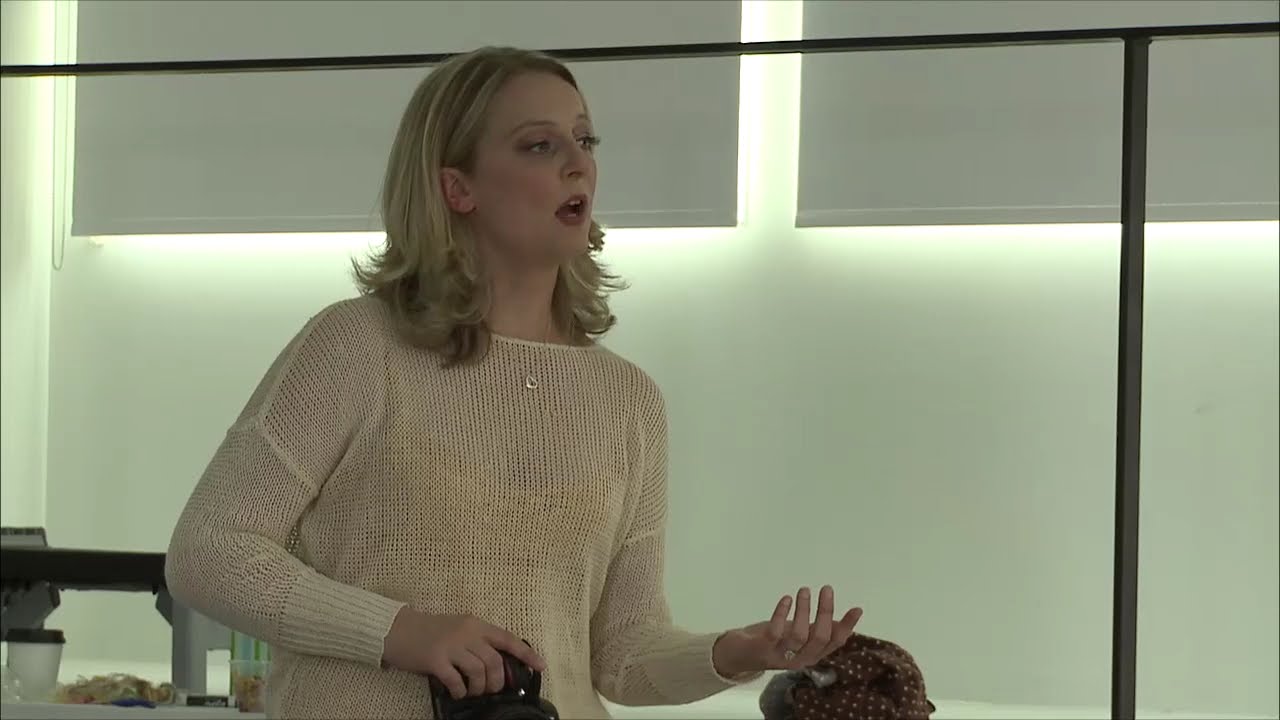
 Photographer evaluating alert newborn before starting pose
The photographer opens by making a judgment call out loud. The baby is awake but calm, and she decides to attempt the prayer pose while acknowledging the risk. This is the first lesson, and it applies directly to anyone planning a compositing shoot. Before you lock in a pose concept, read the subject. An awake newborn will have muscle tension that reads completely differently in an image than a sleeping one. Limp, nested, tucked weight versus active, resistant, curious weight. If you’re shooting reference for a composite, you need to know which version you’re capturing, because the two cannot be interchanged in post without it showing.
Photographer evaluating alert newborn before starting pose
The photographer opens by making a judgment call out loud. The baby is awake but calm, and she decides to attempt the prayer pose while acknowledging the risk. This is the first lesson, and it applies directly to anyone planning a compositing shoot. Before you lock in a pose concept, read the subject. An awake newborn will have muscle tension that reads completely differently in an image than a sleeping one. Limp, nested, tucked weight versus active, resistant, curious weight. If you’re shooting reference for a composite, you need to know which version you’re capturing, because the two cannot be interchanged in post without it showing.
Step 2: Establish Hand Position Relative to the Chest
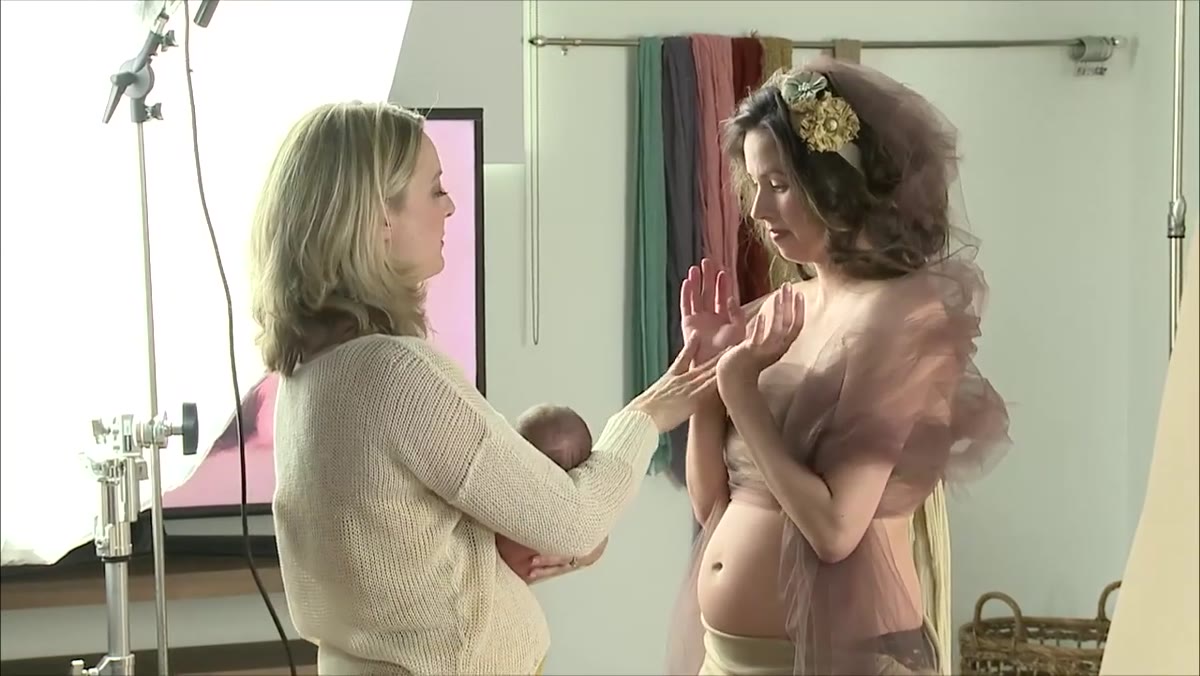 Mother’s wrists separated slightly, hands held close to chest
The first physical direction she gives the mother is about wrist separation and proximity to the chest. The hands come in close, not extended. The wrists separate slightly rather than pressing together. This is a detail that most people overlook, but in a composite context it’s critical. Hands that press flat against each other look tense and performative. Slightly separated wrists create a natural cradle shape that communicates real support. If you’re painting or retouching hands in a composite, this is the reference geometry you want. The gap between the wrists is where the baby’s weight visually lands.
Mother’s wrists separated slightly, hands held close to chest
The first physical direction she gives the mother is about wrist separation and proximity to the chest. The hands come in close, not extended. The wrists separate slightly rather than pressing together. This is a detail that most people overlook, but in a composite context it’s critical. Hands that press flat against each other look tense and performative. Slightly separated wrists create a natural cradle shape that communicates real support. If you’re painting or retouching hands in a composite, this is the reference geometry you want. The gap between the wrists is where the baby’s weight visually lands.
Step 3: Build the Pose in Stages, Not All at Once
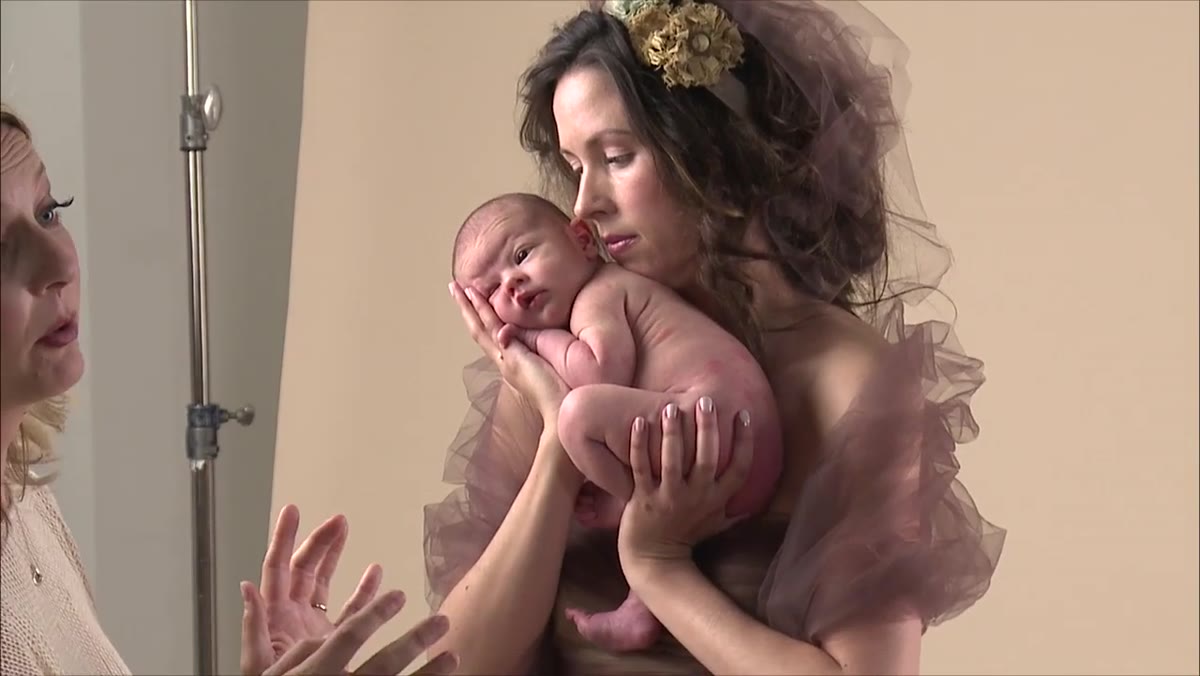 Photographer adjusting pose incrementally with baby still awake
Around the three-minute mark, the photographer stops and explicitly names what she’s doing. The pose has to evolve. Trying to rush it will, in her words, come back to bite you. She works one element at a time: foot position, then wrist angle, then the tilt of the baby’s head. This staged approach is something I’ve internalized in my own compositing workflow. I sketch every piece of a composite on paper before I open Photoshop, and the reason is exactly this. You can’t solve a complex arrangement all at once. You solve the weight first, then the line of the bodies, then the light logic. Rushing any stage collapses the whole structure.
Photographer adjusting pose incrementally with baby still awake
Around the three-minute mark, the photographer stops and explicitly names what she’s doing. The pose has to evolve. Trying to rush it will, in her words, come back to bite you. She works one element at a time: foot position, then wrist angle, then the tilt of the baby’s head. This staged approach is something I’ve internalized in my own compositing workflow. I sketch every piece of a composite on paper before I open Photoshop, and the reason is exactly this. You can’t solve a complex arrangement all at once. You solve the weight first, then the line of the bodies, then the light logic. Rushing any stage collapses the whole structure.
Step 4: Use the Mother’s Weight Distribution to Create a Body Line
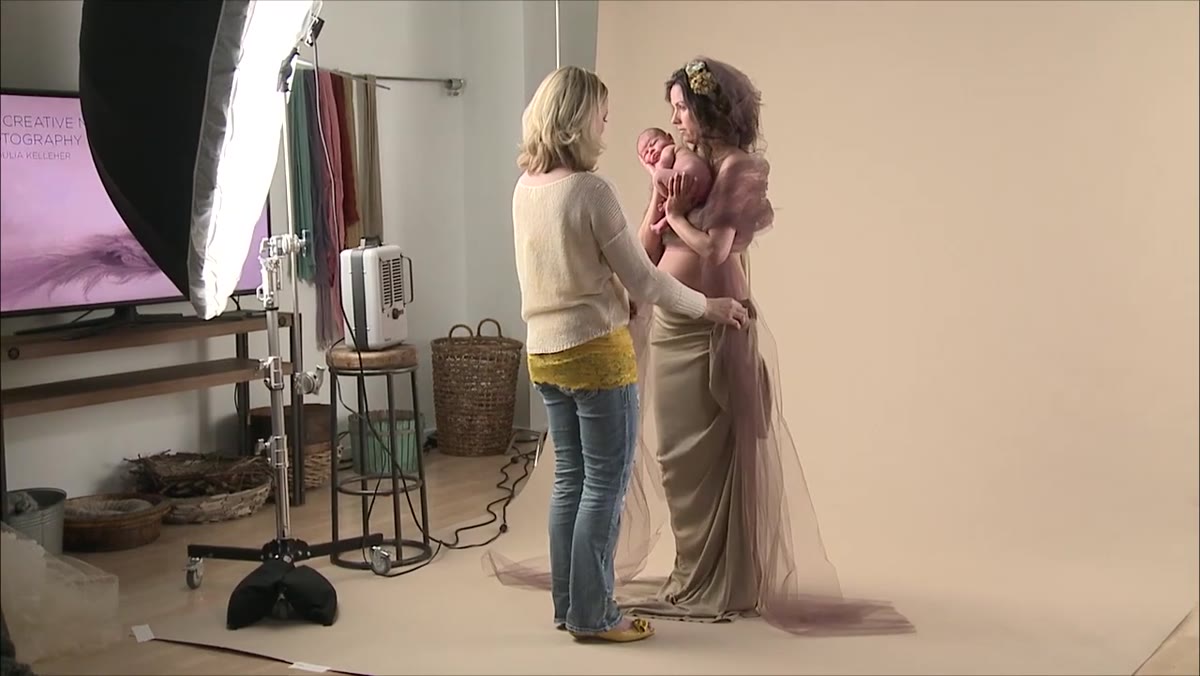 Mother shifting weight to left foot, knee crossing for body curve
Once the baby is roughly positioned, the photographer begins working on the mother’s posture. She asks her to shift weight onto the left foot and cross the knee over to create a curve through the hip and waist. This is pure compositional geometry. A straight standing figure reads as static. The weight shift introduces a line that pulls the eye from the feet through the hip and up to the baby, which is where you want attention to land. For compositing reference, this is the spine of the image. If you’re assembling a mother-child image from multiple shots, you need one of your reference frames to nail this body line before you worry about anything else.
Mother shifting weight to left foot, knee crossing for body curve
Once the baby is roughly positioned, the photographer begins working on the mother’s posture. She asks her to shift weight onto the left foot and cross the knee over to create a curve through the hip and waist. This is pure compositional geometry. A straight standing figure reads as static. The weight shift introduces a line that pulls the eye from the feet through the hip and up to the baby, which is where you want attention to land. For compositing reference, this is the spine of the image. If you’re assembling a mother-child image from multiple shots, you need one of your reference frames to nail this body line before you worry about anything else.
Step 5: Direct the Head and Chin Last
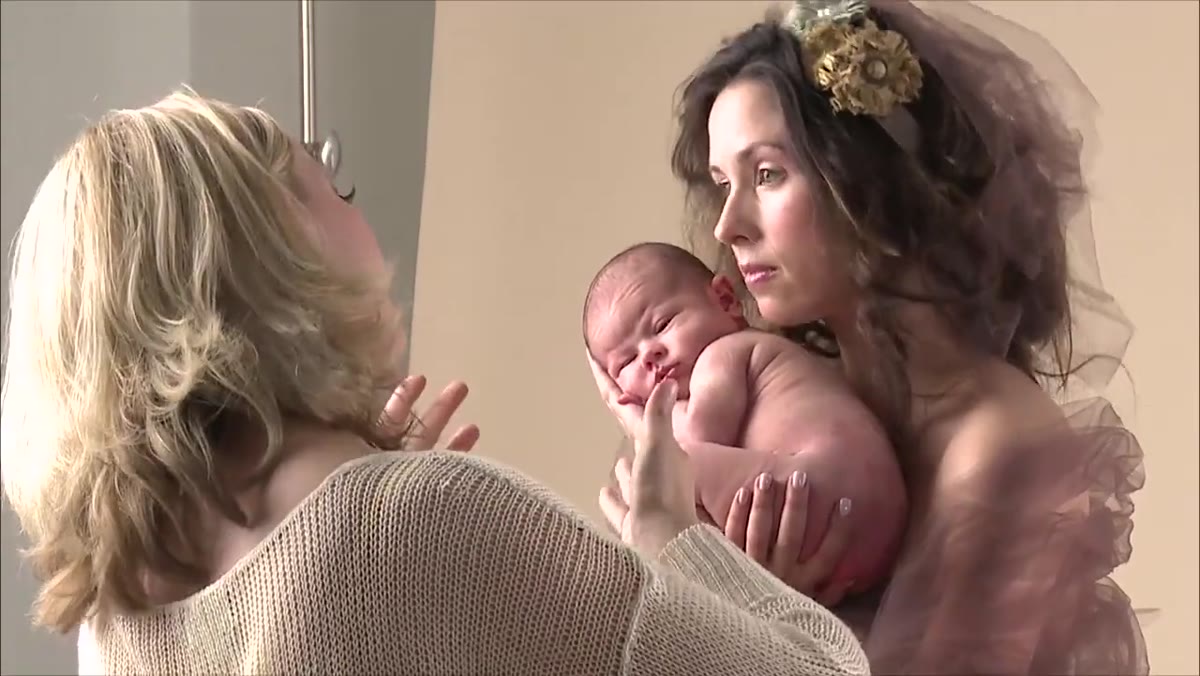 Photographer guiding mother’s chin down toward baby’s head
The final positioning element is the mother’s chin and gaze direction. The photographer asks her to bring the chin forward and down, resting toward the baby’s head without pressing into it. This closes the emotional loop of the image. The mother’s head angles toward the subject, which directs the viewer’s eye inward rather than out of the frame. It also solves a common composite problem: a mother figure whose gaze doesn’t relate spatially to the child looks disengaged no matter how technically correct the lighting is. The emotional read of the pose lives in the angle of the head.
Photographer guiding mother’s chin down toward baby’s head
The final positioning element is the mother’s chin and gaze direction. The photographer asks her to bring the chin forward and down, resting toward the baby’s head without pressing into it. This closes the emotional loop of the image. The mother’s head angles toward the subject, which directs the viewer’s eye inward rather than out of the frame. It also solves a common composite problem: a mother figure whose gaze doesn’t relate spatially to the child looks disengaged no matter how technically correct the lighting is. The emotional read of the pose lives in the angle of the head.
Step 6: Shoot Full Body First to Solve Composition, Then Move Closer
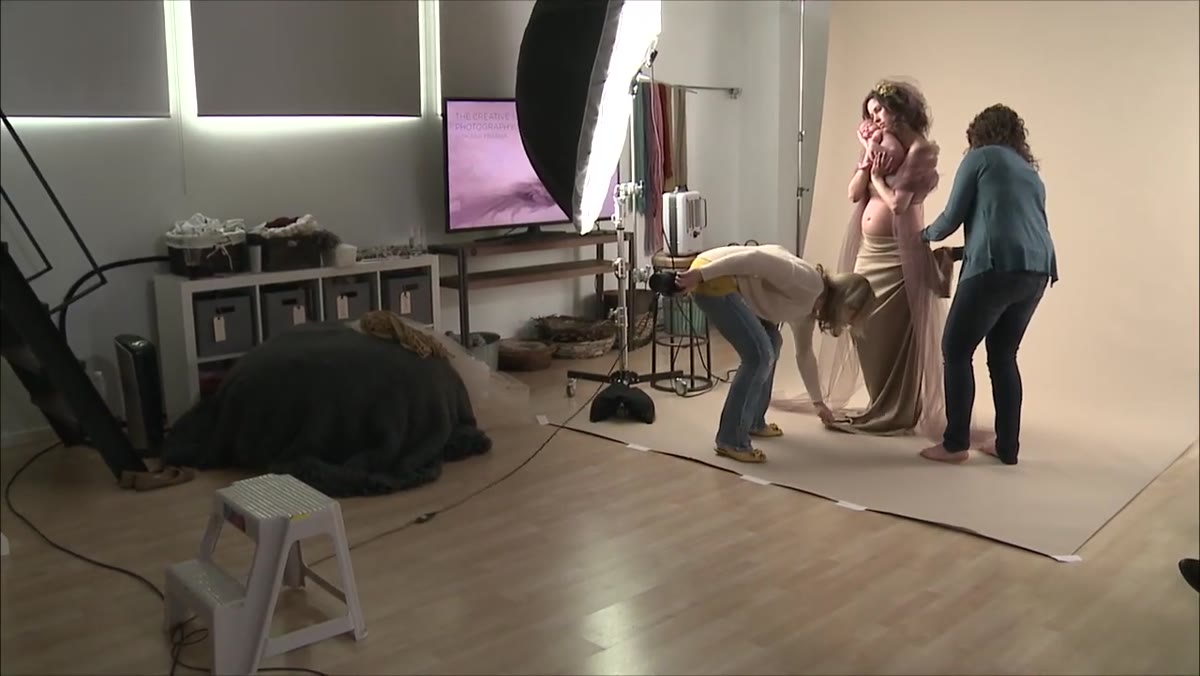 Photographer framing full body shot with 85mm lens
She mentions moving back to capture the full body first, working with an 85mm lens. The logic is practical: get the full composition locked before tightening in on details. The full body frame confirms that the weight, the line, and the overall relationship between mother and child read correctly. The close details only matter if the architecture is sound. In compositing terms, this maps directly to the practice of building your overall scene before you refine edges or add texture. The macro read has to work before the micro work has any meaning.
Photographer framing full body shot with 85mm lens
She mentions moving back to capture the full body first, working with an 85mm lens. The logic is practical: get the full composition locked before tightening in on details. The full body frame confirms that the weight, the line, and the overall relationship between mother and child read correctly. The close details only matter if the architecture is sound. In compositing terms, this maps directly to the practice of building your overall scene before you refine edges or add texture. The macro read has to work before the micro work has any meaning.
What I’d Add from My Own Work
The tutorial focuses on getting the pose right in camera, which is correct, but when I’m using this kind of session as reference for a composite, I add one step the photographer doesn’t mention: I shoot a blank plate of the background at the same settings, without the subjects, before and after the session. That gives me a clean layer to work from if I need to extend or replace any part of the background in post. It takes thirty seconds and has saved me hours of rebuilding neutral backgrounds from scratch. I keep a reference folder with hundreds of these blank plates organized by light quality and surface type. What looks like obsessive filing is actually a speed advantage.
The single thing worth carrying out of this tutorial is the idea that patience in the shoot translates directly into credibility in the final image. A pose that evolved naturally over five minutes of small adjustments reads differently than one that was snapped into place. That organic quality is what compositors are always trying to recreate after the fact, and it’s much easier to capture it when you understand how it was built in the first place.
Watch the full tutorial on YouTube and pay particular attention to the moments where the photographer is talking the mother through discomfort. The technical directions and the human management are happening simultaneously, and that’s the real skill on display.
Comments (1)
Solid advice. Especially the part about taking your time with it.
Leave a Comment